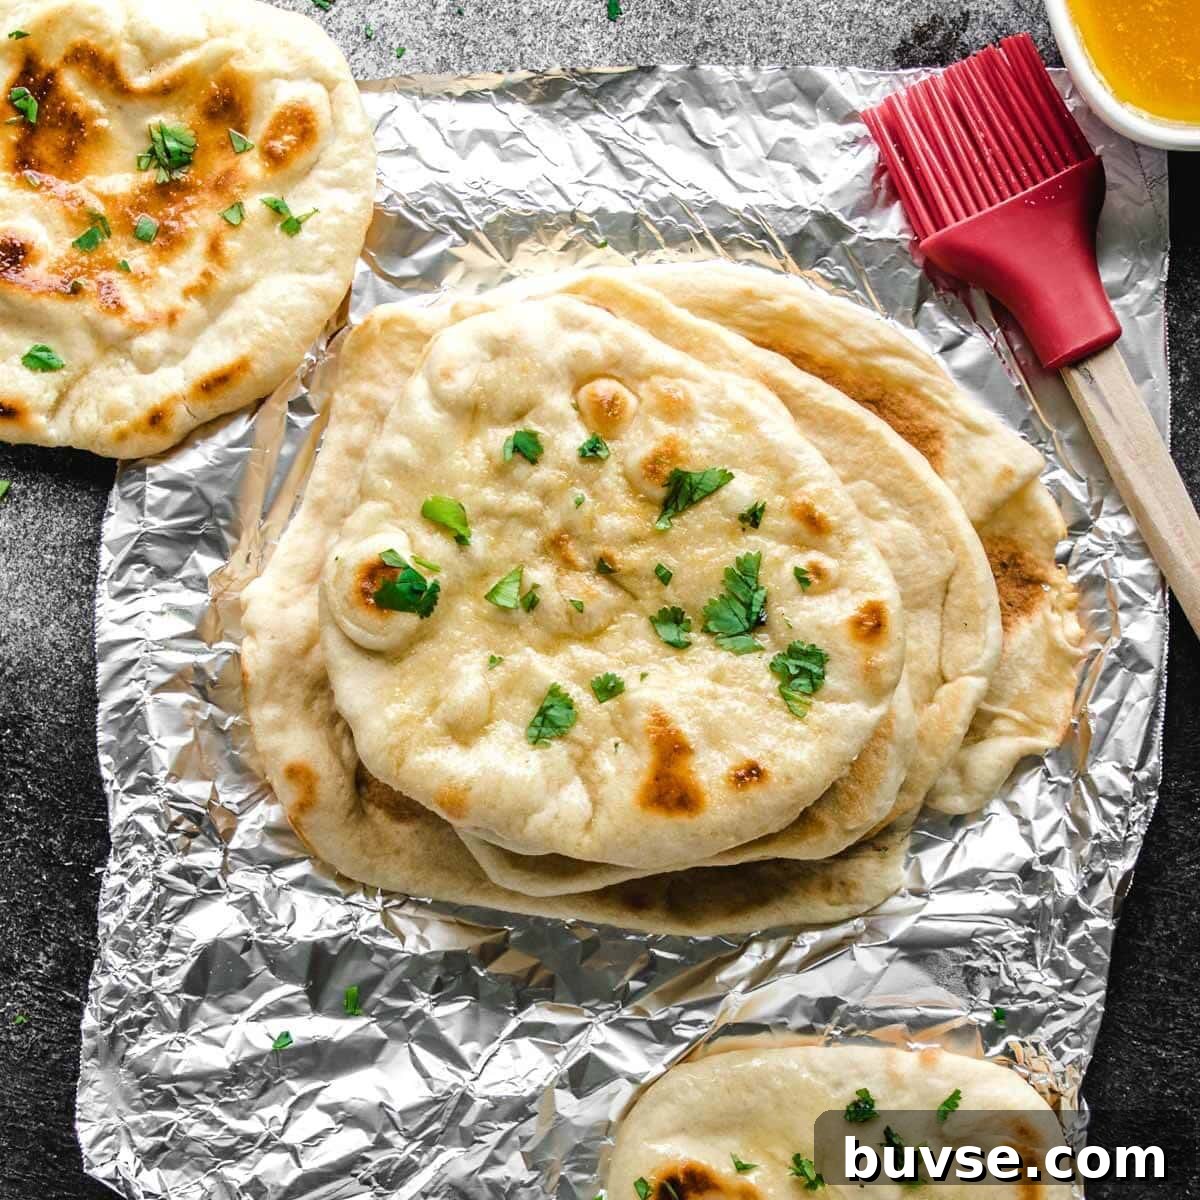
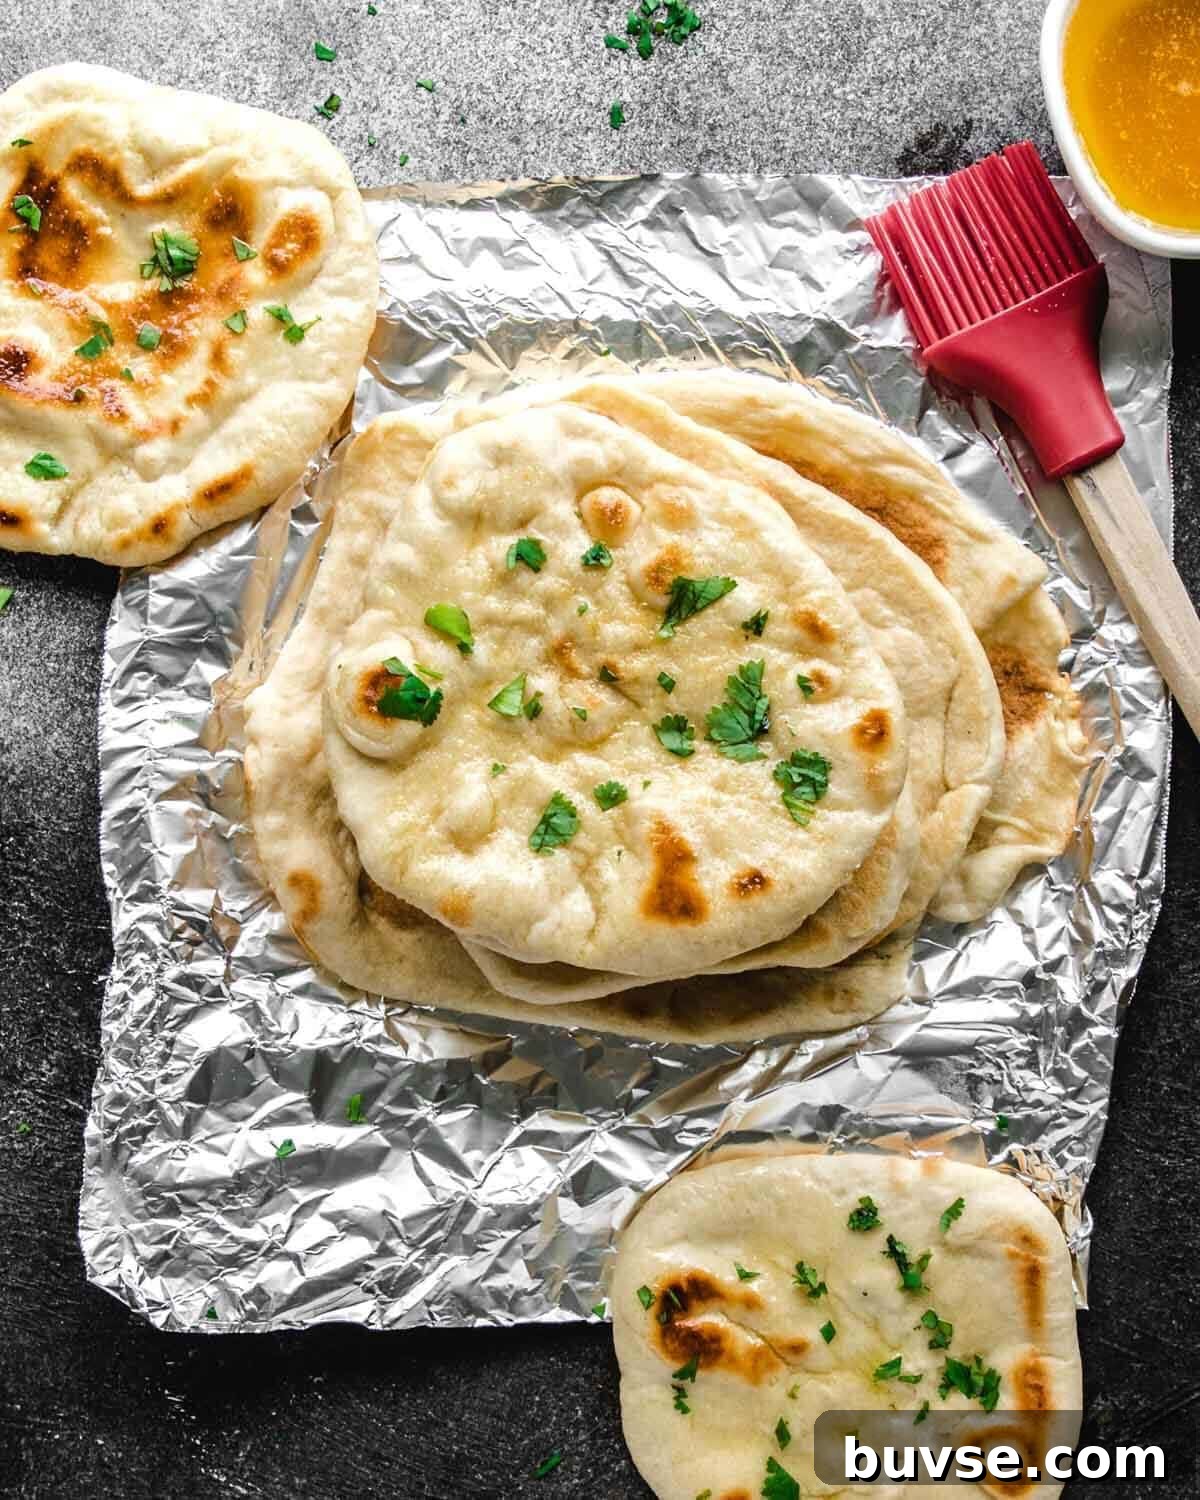
Garlic pita bread is a simple, flavorful snack or side that pairs with many meals. Made from basic ingredients—flour, water, yeast, salt and a touch of olive oil—homemade pita becomes tender and chewy in a way store-bought pitas rarely match. Brushing warm pitas with garlic butter right after baking adds an irresistible aroma and savory finish that garlic lovers will appreciate.
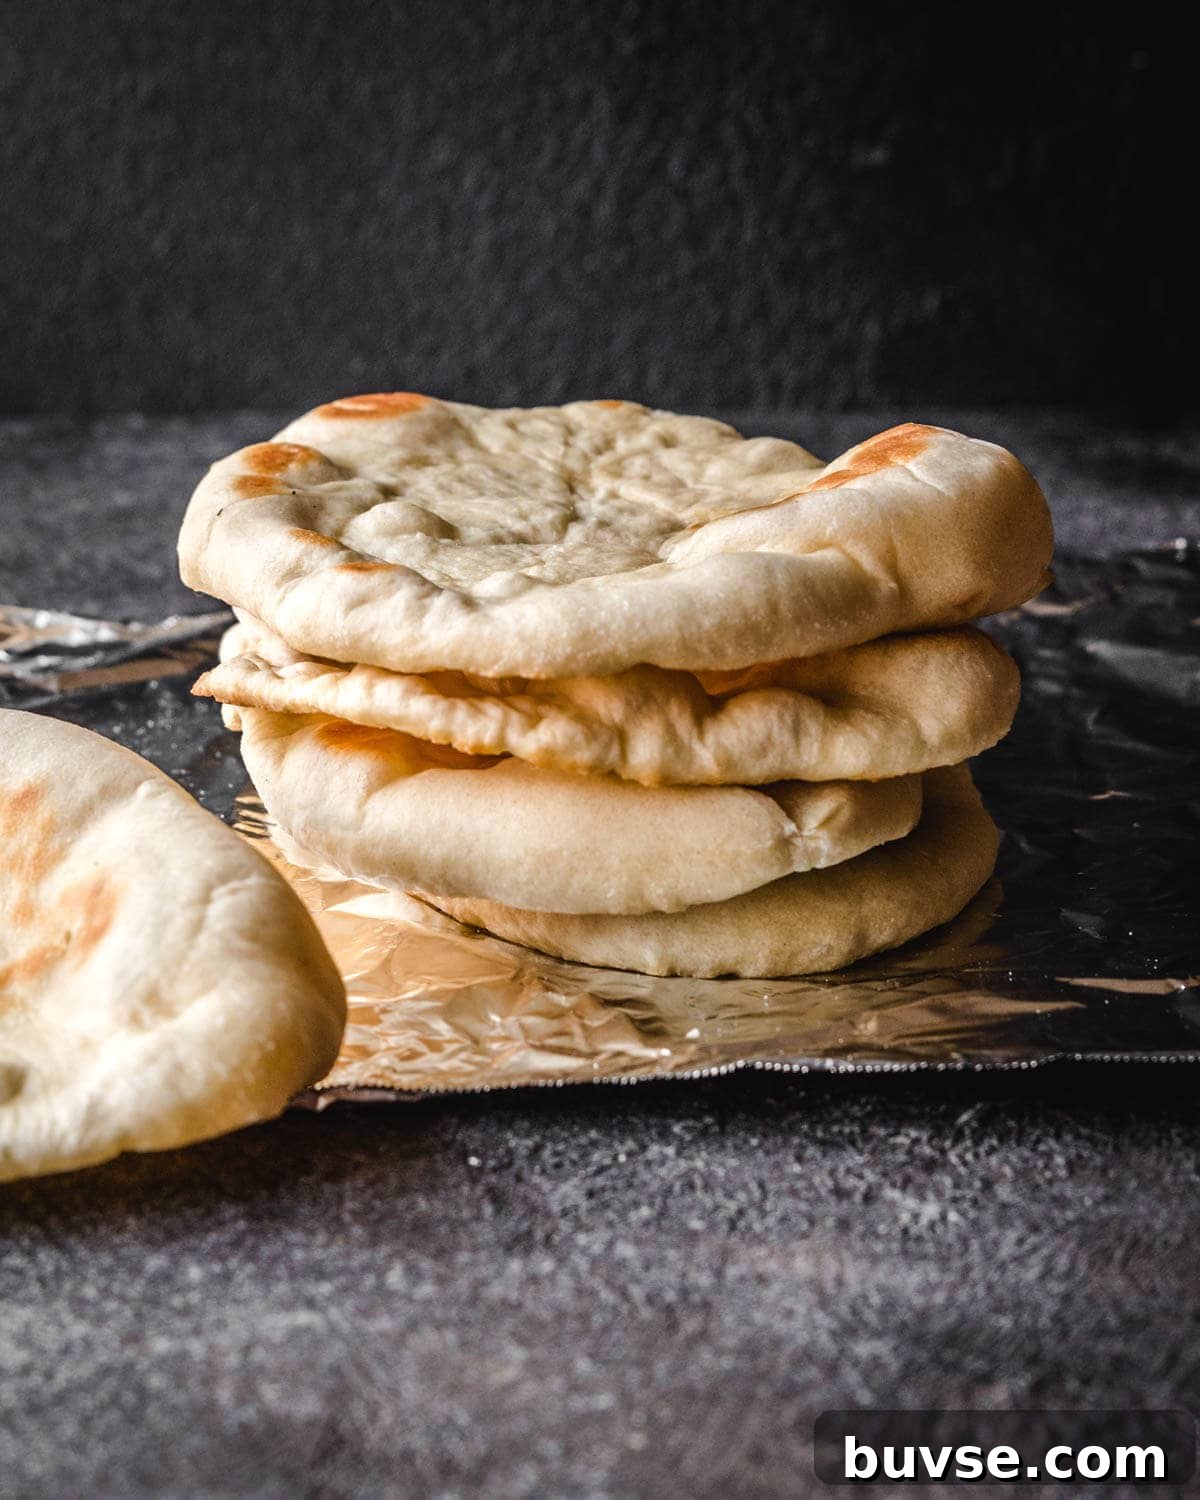
Why you’ll love this garlic pita bread
- Easy to make with common pantry staples—no special ingredients required.
- Freezes well, so you can bake a batch and keep pitas on hand for quick meals.
- Homemade pitas are softer and chewier than most store-bought options, and the garlic butter topping adds a rich, savory flavor.
- Very versatile: serve as a side, use as a sandwich pocket, or replace garlic bread with garlic pita alongside pasta and casseroles.
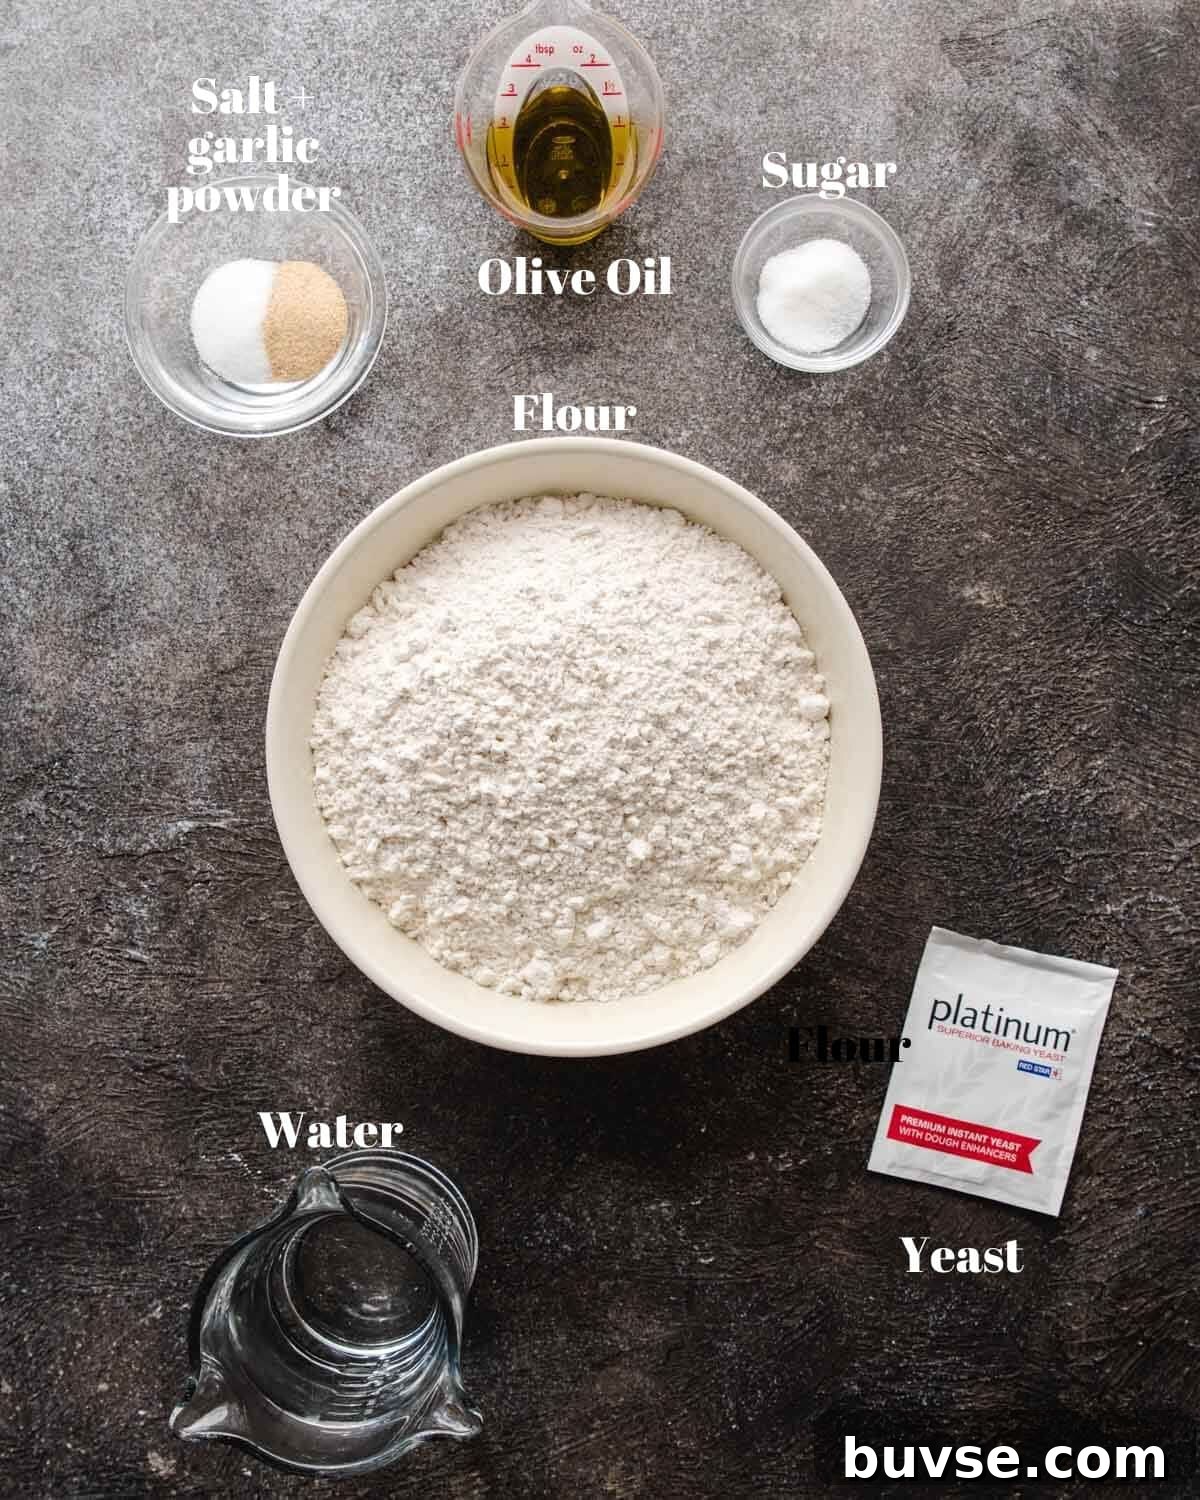
Ingredients & substitutions
Pita
- Water: Use warm water (about 90–95°F). Water that’s too hot can kill the yeast.
- Instant yeast
- Sugar: A small amount of granulated sugar helps activate the yeast.
- All-purpose flour: This recipe uses all-purpose flour; for whole wheat or gluten-free options see the Pro Tips section.
- Salt
- Garlic powder (optional): Add to the dough for extra garlic flavor. Note: adding garlic powder can reduce puffing in the oven.
- Olive oil: Used in the dough and to coat the bowl while the dough proofs.
Garlic butter
- Butter: Unsalted butter is recommended so you can control seasoning.
- Garlic powder: Keeps preparation quick; fresh minced garlic can be used instead.
- Salt: Kosher or sea salt works well.
- Dried or fresh parsley: For a fresh finish.
- Parmesan (optional): A sprinkle of grated parmesan adds a cheesy note.
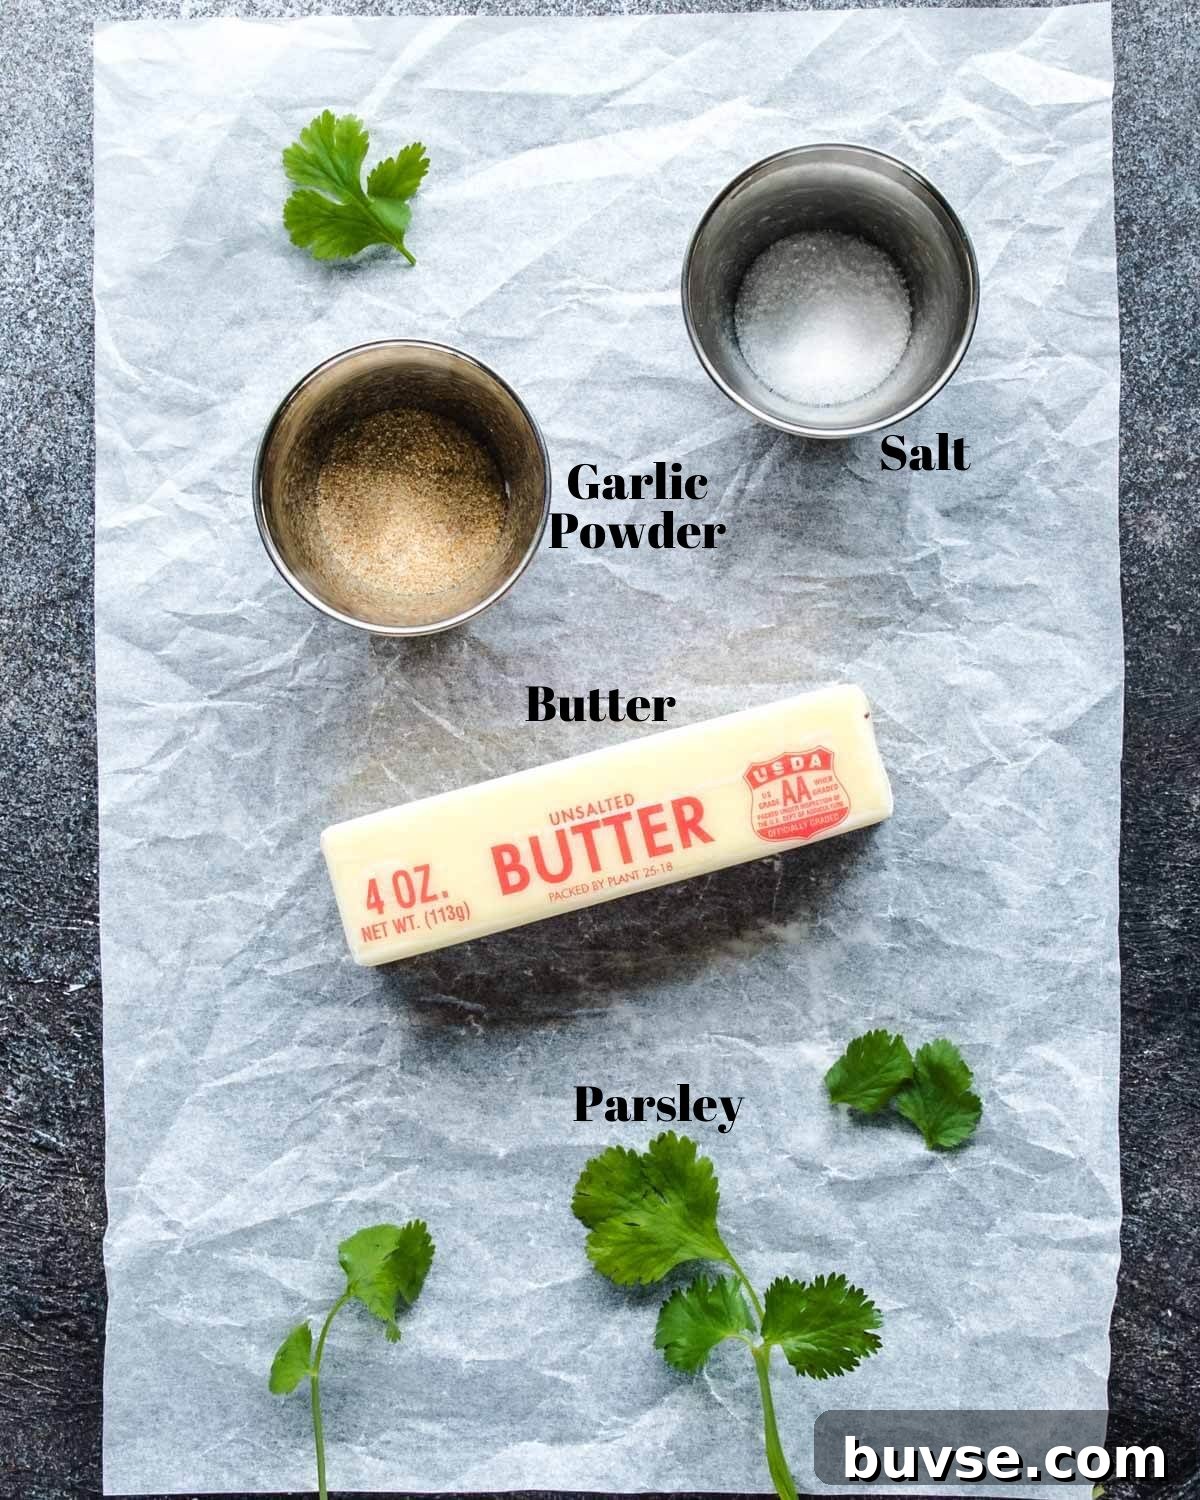
How to make garlic pita bread
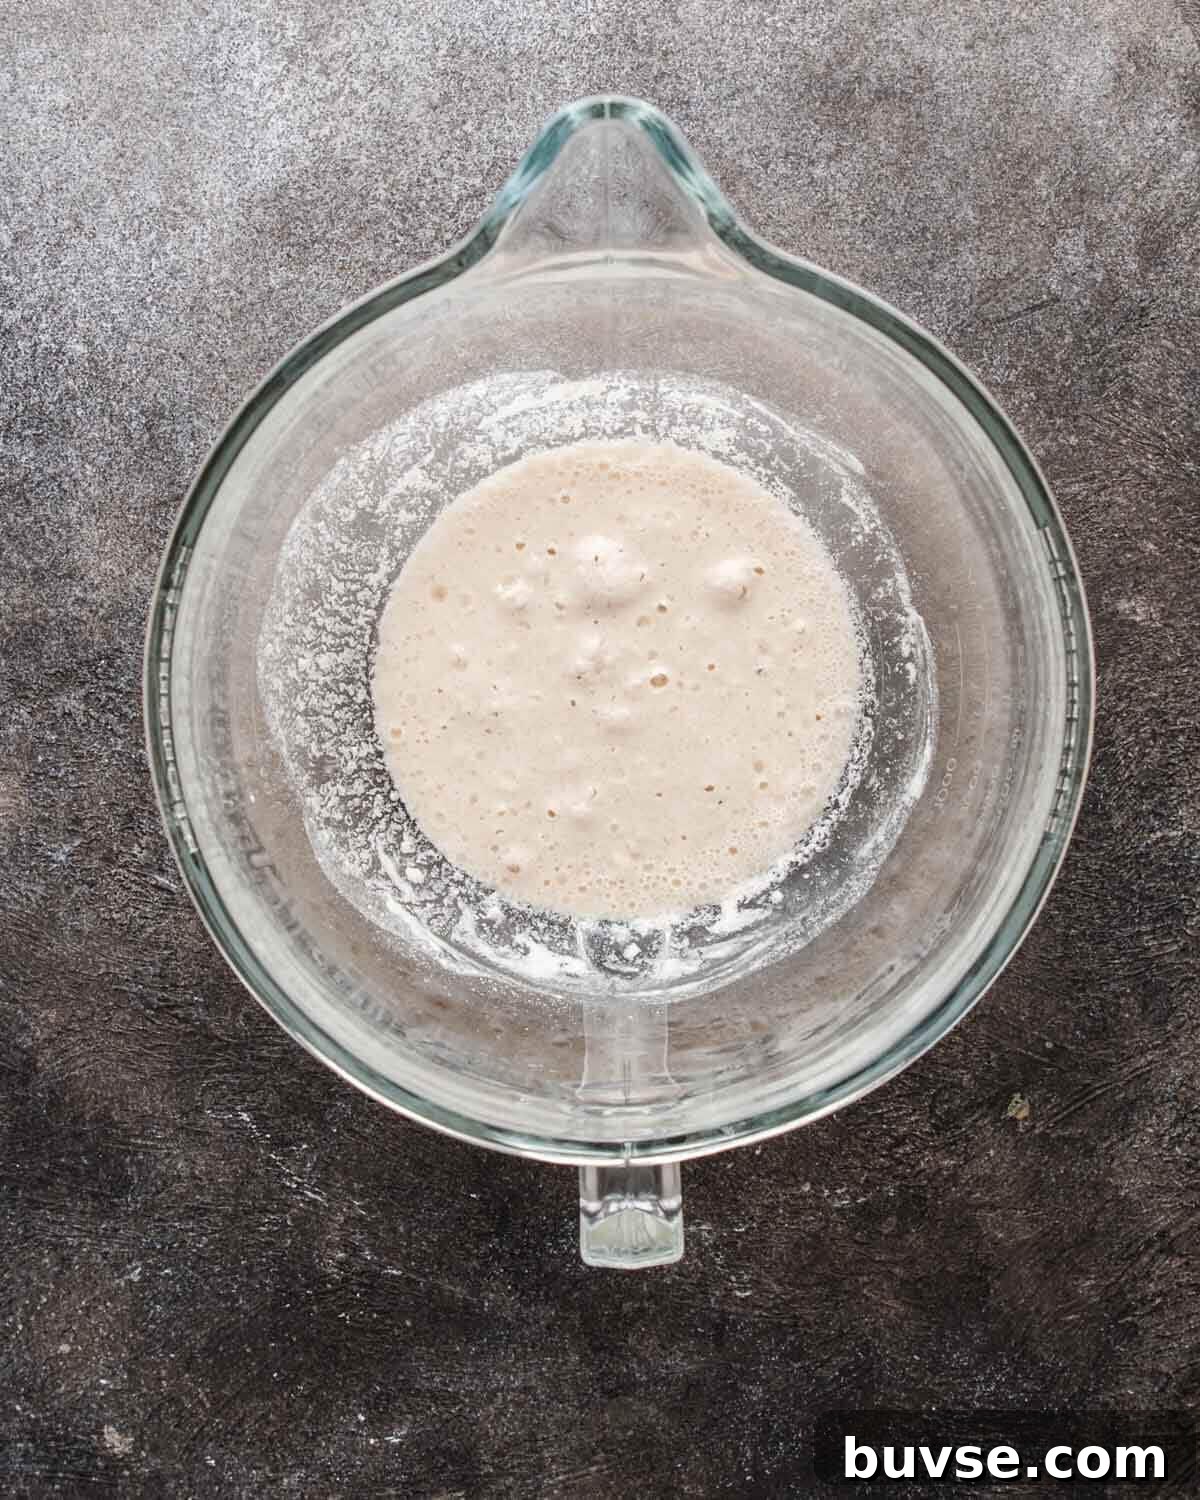
Step 1 — Bloom the yeast
In a large bowl mix 1 cup warm water with the yeast and sugar until dissolved. Stir in ½ cup flour to form a loose batter, then leave uncovered in a warm place for about 15 minutes until bubbles form.
Step 2 — Mix and knead
Add salt, olive oil and 2 cups of the remaining flour (reserve ½ cup). Knead by hand or with a dough hook on low until the dough becomes a soft, smooth ball, adding more flour by tablespoons only if it sticks. Knead about 2–3 minutes total.
Step 3 — Rest and second knead
Cover the dough with a clean towel and let it rest 10 minutes, then knead 2–3 more minutes to develop a smooth texture.
Step 4 — Proof
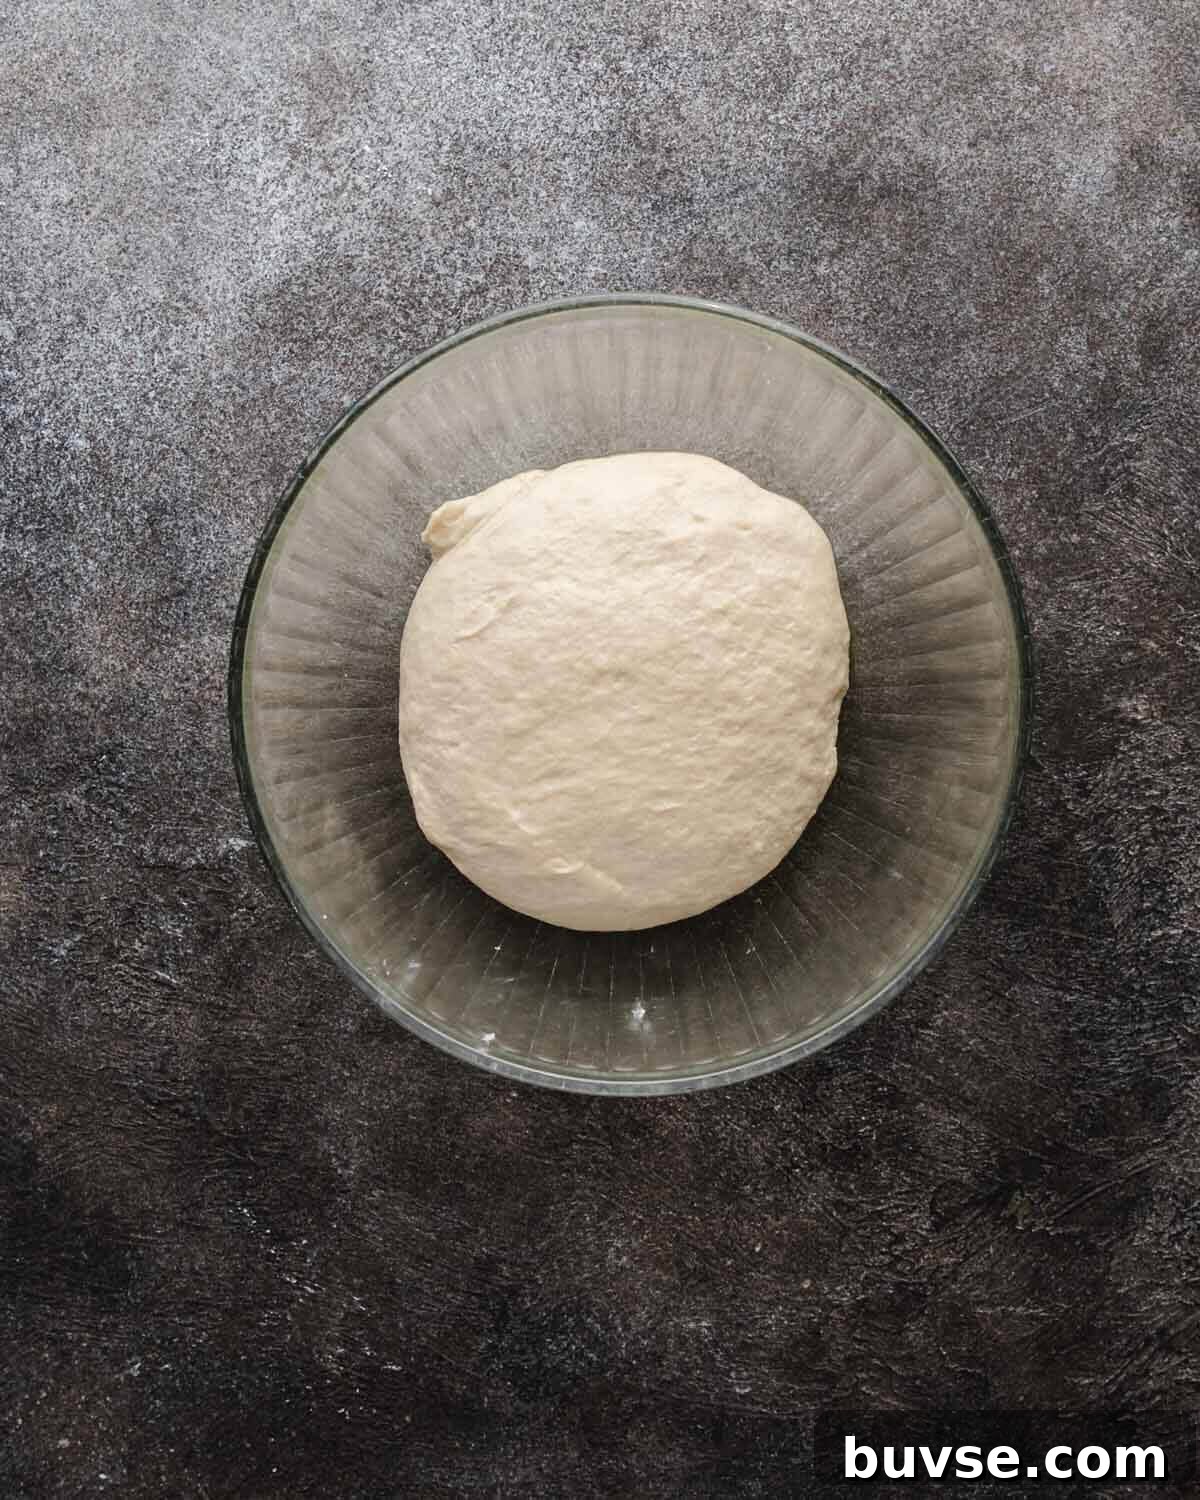
Lightly oil a bowl, place the dough in it and turn to coat. Cover tightly with plastic wrap and a kitchen towel and let rise in a warm spot until doubled, about 1 hour.
Step 5 — Shape
Punch down the dough and divide into 8 pieces. Shape each into a smooth ball and cover with a towel to rest for 10 minutes.
Step 6 — Roll
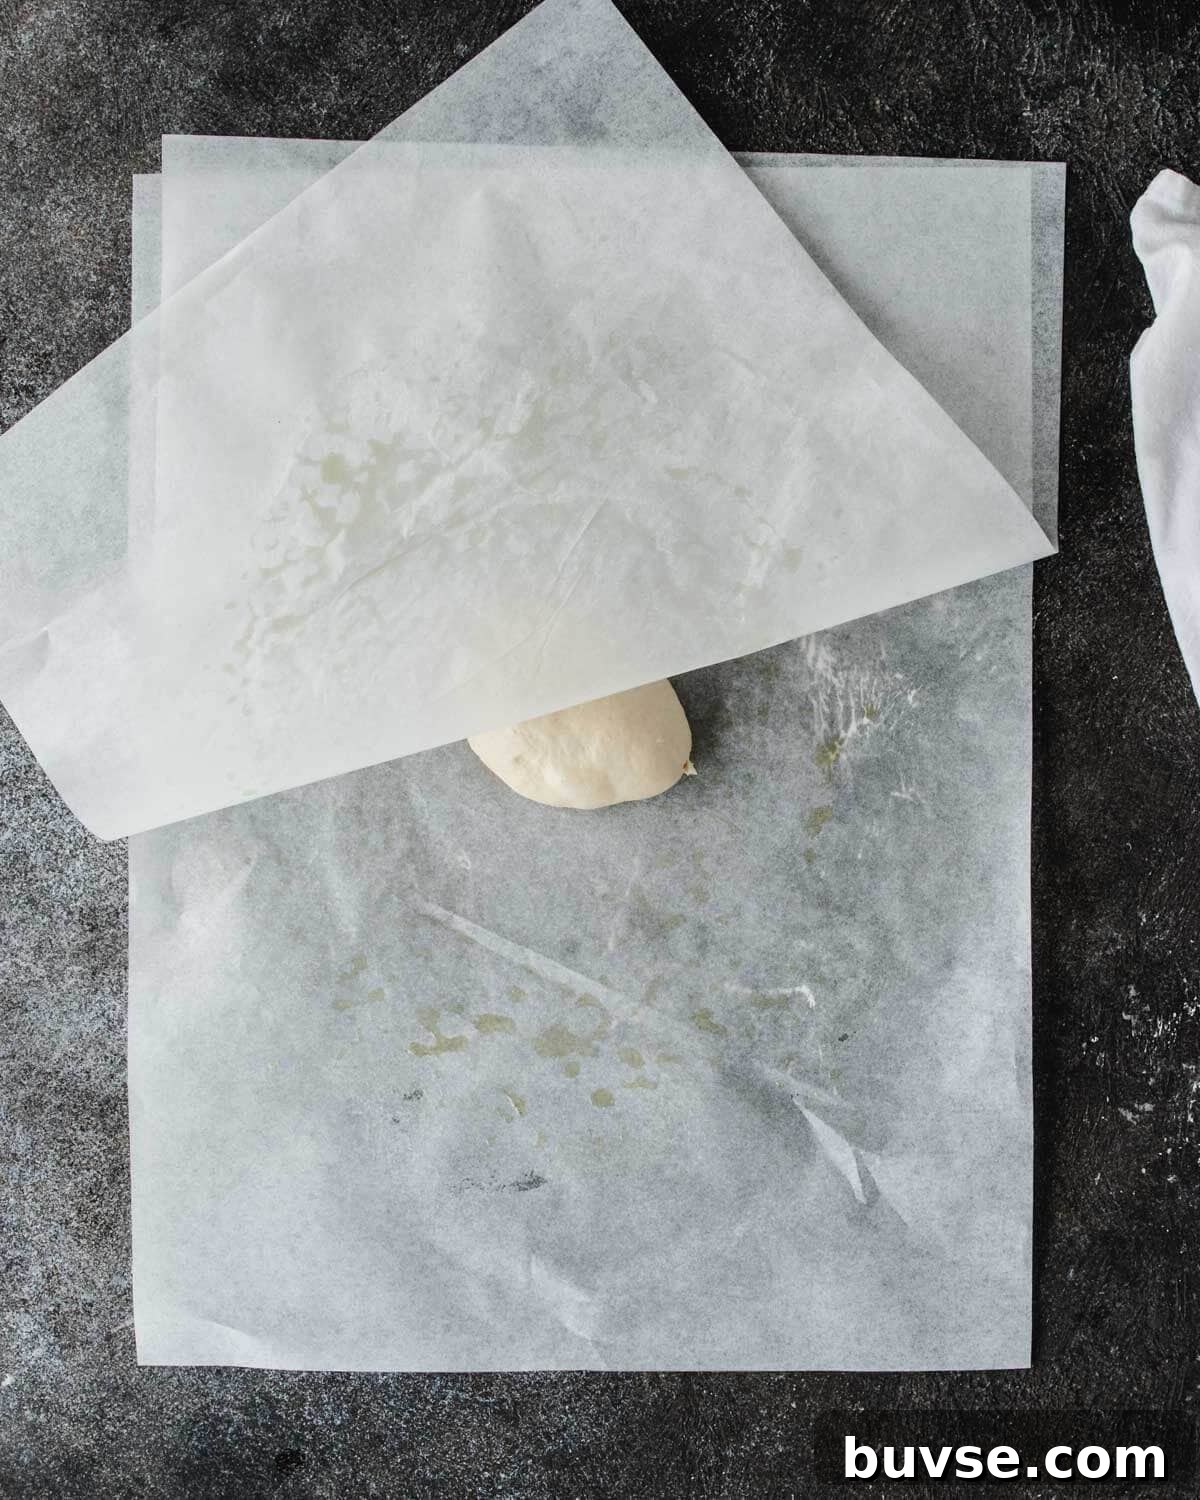
Place a dough ball between two lightly oiled sheets of parchment and roll into an 8-inch circle about 1/4 inch thick. Peel off the top sheet, transfer the rolled pita to your hand and remove the bottom sheet.
Step 7 — Bake
Preheat oven to 475°F with a large cast-iron skillet inside. Carefully place the rolled pita on the hot skillet and bake 2 minutes, then flip and bake another 1–2 minutes until lightly browned. Transfer cooked pitas to a foil-lined towel and cover to keep warm while you bake the rest.
Step 8 — Make the garlic butter
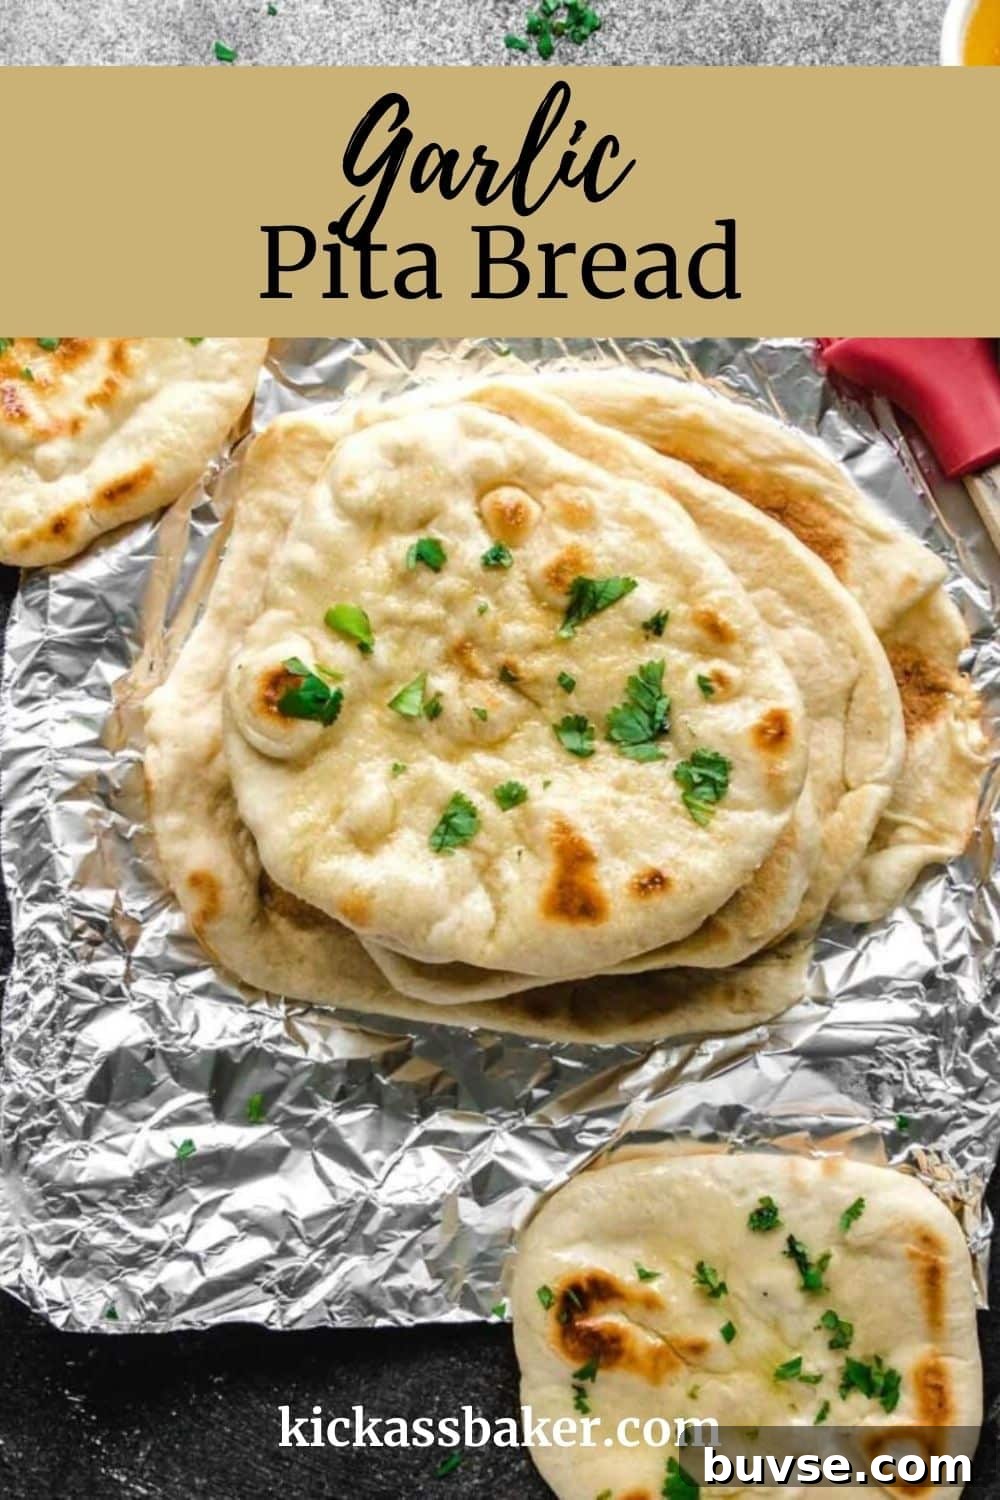
Melt ½ cup unsalted butter in a small saucepan over medium heat. Stir in garlic powder and salt, then brush generously over warm pitas. Sprinkle with parsley and optional parmesan.
Making garlic pita bread on the stovetop
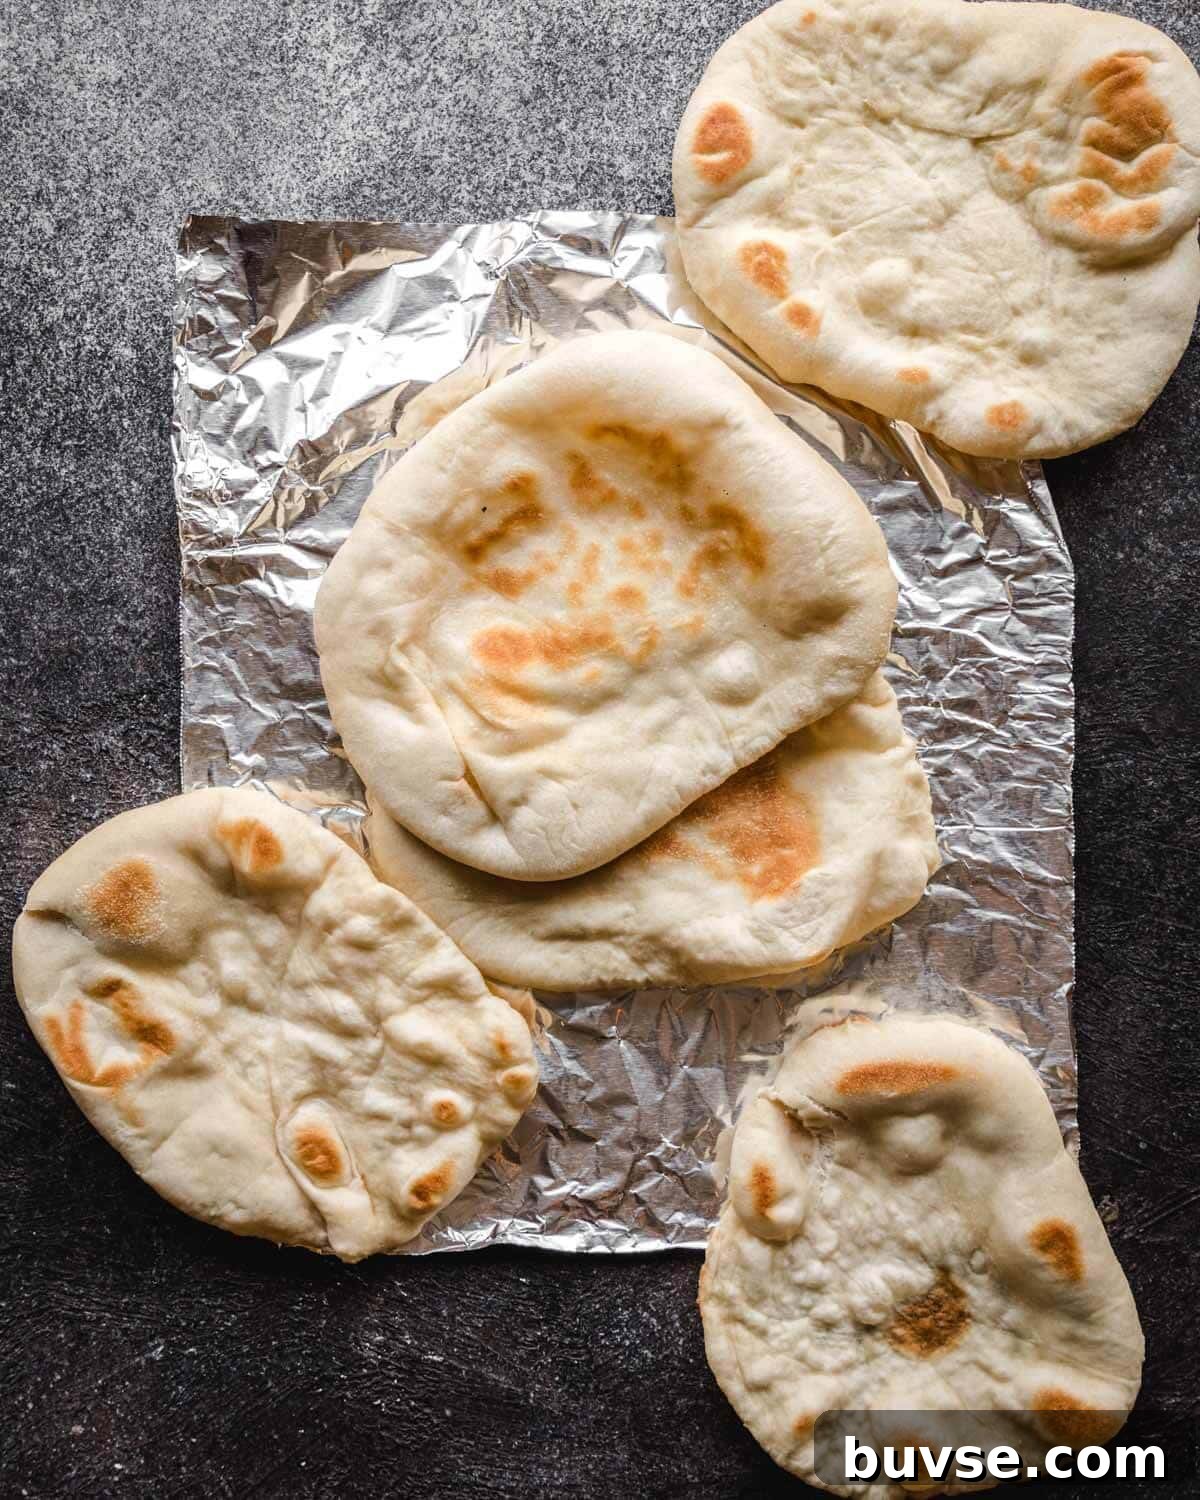
You can cook pitas on the stovetop using a preheated cast-iron skillet over medium-high heat. Lightly oil and wipe most of it away, then cook each rolled pita about 30 seconds until bubbles begin, flip and cook 1–2 minutes per side until charred spots develop. Pitas may puff and form a pocket, though sometimes pockets are small with this method.
Make ahead and storage
To prepare dough ahead, follow through the oiling step and refrigerate overnight instead of proofing at room temperature. The dough will rise slowly and develop deeper flavor. When ready, bring the dough to room temperature and continue with shaping and baking. Baked pita can be stored in an airtight bag at room temperature for up to 4 days or frozen for up to 3 months. Reheat frozen pita in a 350°F oven for 5–7 minutes.
Pro tips
- For whole wheat pitas, substitute 1½ cups whole wheat flour and 1½ cups all-purpose flour.
- To make gluten-free pitas swap in a cup-for-cup gluten-free all-purpose flour blend.
- You can cook pitas on a hot pizza stone on the grill—about 2 minutes per side on high heat.
- Customize the garlic butter with red pepper flakes, fresh herbs, or shredded mozzarella for a different twist.
FAQs
Can this recipe be made gluten-free?
Yes. Use an equal amount of a quality all-purpose gluten-free flour blend designed for baking.
How do I make whole wheat pita?
Replace half the all-purpose flour with whole wheat flour (about 1½ cups whole wheat to 1½ cups all-purpose) for a nuttier flavor and firmer texture.
If you try this recipe, you’ll find homemade garlic pita to be a fast and rewarding way to add fresh bread to weeknight dinners or snack spreads. Enjoy!