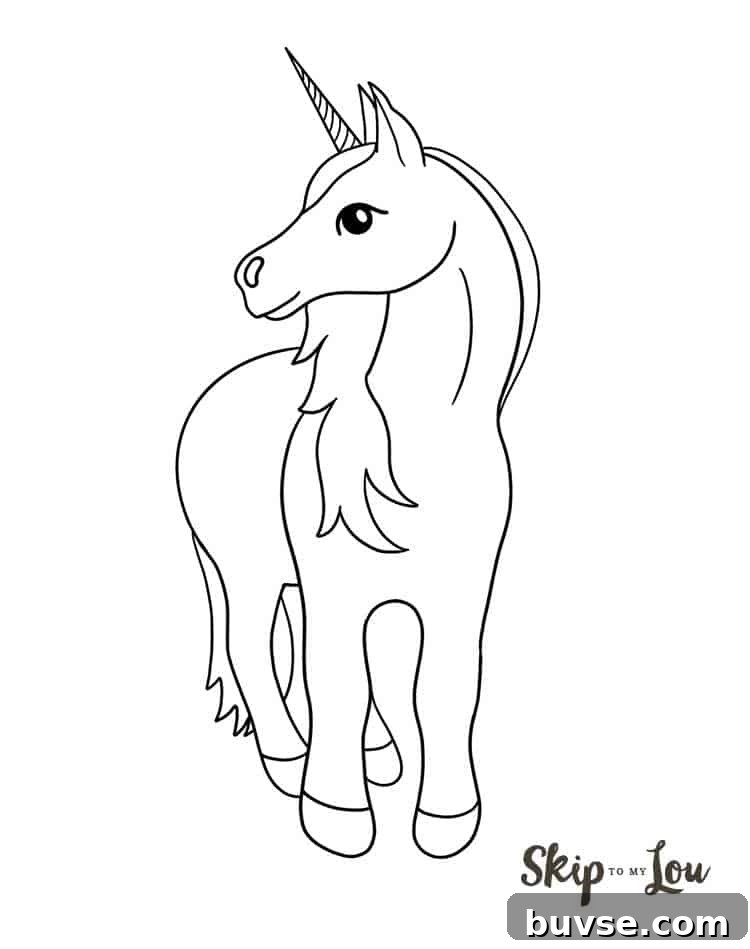
Learning how to draw a unicorn is simple with this clear, step-by-step guide. Follow these instructions to create a charming unicorn drawing you can color and personalize.
For more inspiration, try other fun drawing ideas listed below.
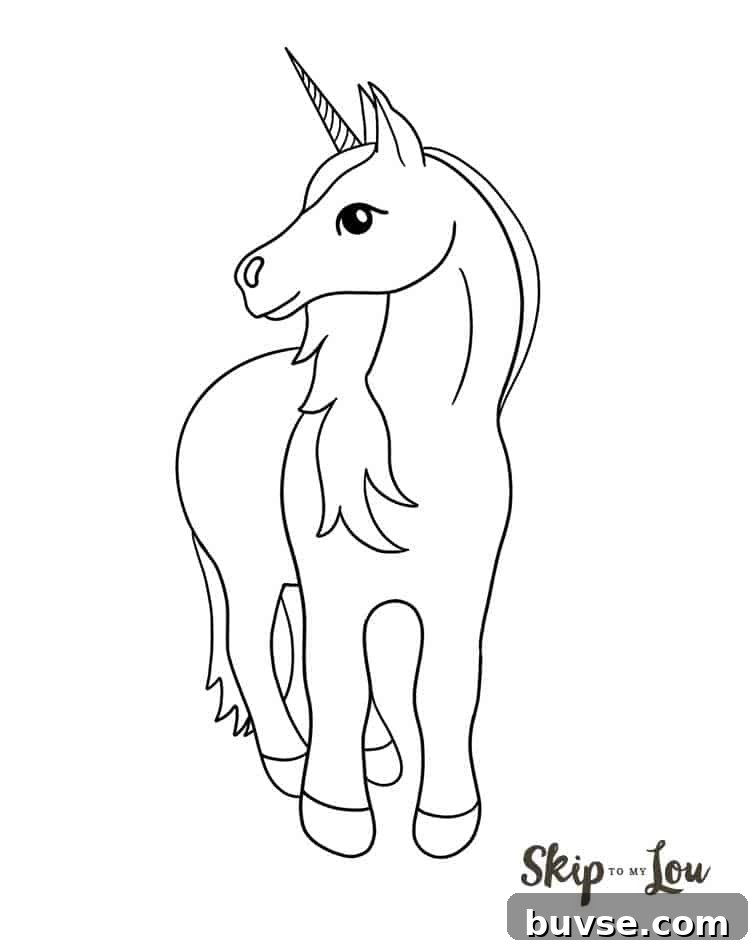
How to Draw a Unicorn
This guide shows an easy approach to drawing a cute unicorn. It works well for beginners and children—use light pencil lines at first, then darken or ink your final outline.
Download —> Printable Drawing Guide (Printable available)
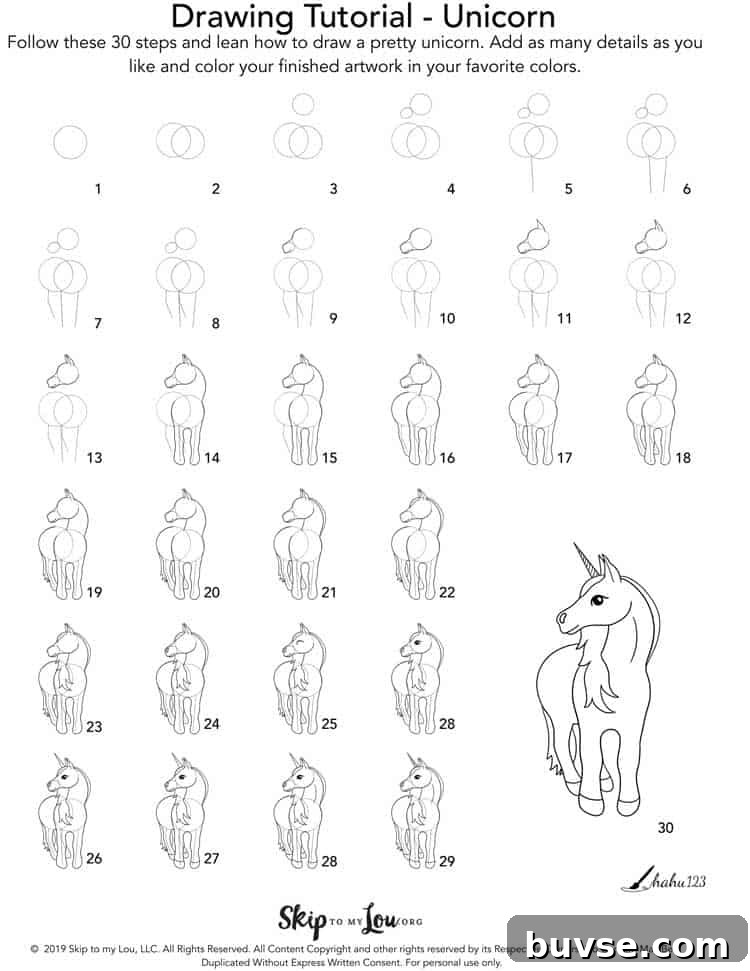
How to Draw a Unicorn Step By Step
Begin by sketching simple guidelines lightly in pencil. These construction shapes make it easier to get the proportions right and create a friendly, rounded unicorn form. Once you’re happy with the basic shapes, you can switch to pen or colored pencils to finish.
(Draw steps 1–8 lightly with pencil as guidelines.)
Step 1: Sketch a large circle for the unicorn’s hindquarters and body.
Step 2: Add a slightly smaller circle that overlaps the first circle; this marks the shoulder and mid-body area.
Step 3: Draw a much smaller circle above the overlap of the first two circles to guide the head.
Step 4: Add a small oval beneath the head circle and above the body circle for the muzzle area.
Step 5: Where the body and shoulder circles meet, draw a vertical guideline for one leg.
Step 6: On the opposite side at the same height, draw a second vertical guideline mirroring the first for the other front leg.
Step 7: At the bottom edge of the body circle, sketch a slightly angled bent line to indicate a hind leg position.
Step 8: Mirror the bent line on the other side of the body circle to guide the second hind leg.
Now refine those shapes into the final outline. Feel free to adjust head tilt, leg positions, and facial expression to make your unicorn unique.
Step 9: Starting just above the head circle, draw the top of the muzzle and forehead, following the oval and head circle. Add a small bump for the nostril instead of tracing the oval exactly.
Step 10: Continue the line under the muzzle and round into the jaw to define the head shape.
Step 11: Add an ear at the top of the head circle; you can draw it as a slightly curved triangle or a double-arched shape.
Step 12: Inside the ear, add a short line for depth and detail.
Step 13: Draw a second, slightly smaller ear behind the first to show perspective.
Step 14: From the top of the head circle, draw an arched neck line that flows toward the shoulder circle. Continue around the shoulder and down along the front leg guides, adding gentle bumps for knees and rounded hooves. Leave the top third of the shoulder circle open.
Step 15: Connect the head and body with a curved line from the head circle to the point where the body and shoulder meet to finish the neck.
Step 16: Start the first hind leg by drawing along the body circle and down the leg guide; shape the knee and hoof with rounded forms.
Step 17: Complete the final hind leg in the same manner, making sure you don’t overwrite earlier outlines.
Step 18: Draw the remaining front leg around its guide, keeping clean, separate lines.
Step 19: Add a flowing tail at the rear of the body using pointed hair-like shapes to suggest strands and movement.
Step 20: Finish the tail, varying the line thickness for a lively look.
Step 21: Add the mane with a curved line nearly parallel to the neckline; give it soft, flowing segments.
Step 22: On the forehead, sketch a small curved tuft of mane that frames the horn area.
Step 23: Fill in mane details between the chin, neck, and shoulder—choose any style you like, from long flowing hair to short choppy locks.
Step 24: Draw a small bean-shaped nostril on the side of the muzzle to define the nose.
Step 25: For the eye, add a curved upper eyelid starting from the middle of the head circle.
Step 26: Draw a round pupil connected to the upper eyelid; leave a small white highlight to make the eye sparkle.
Step 27: Create the horn by drawing a pointed triangular shape on the forehead. You can add spiral lines for texture.
Step 28 (optional): Add hoof detail lines if you want a more finished look.
Step 29 (optional): Add subtle lines or shading along the neck to suggest muscle or fur texture.
Step 30 (optional): Add decorative details to the horn such as stripes or sparkles.
Step 31: Erase your construction guidelines and clean up any stray marks.
You’ve completed a basic unicorn drawing. Practice will help you personalize proportions and add character. Try flipping the mane to the other side, altering leg poses, or exaggerating features for a cartoon style. Once the outline is finished, color your unicorn with colored pencils, markers, or watercolor to bring it to life.
This simple unicorn is perfect for kids’ art projects, greeting cards, or as a starting point for fantasy scenes. Use your imagination to place your unicorn in a magical forest, a rainbow landscape, or a fairy-tale castle setting.
my favorite drawing supplies
- Sketching pencils (various grades)
- Kneaded eraser for gentle corrections
- Sketch pad or drawing paper
- Erasable colored pencils
- Fine-tipped markers or pens for inking
- Complete drawing pencil set for beginners and advanced artists
If you try this unicorn tutorial or other drawing lessons on the site, please share your results in the comments. I love seeing how artists personalize these guides. Follow along on social media to see more drawing ideas and creative projects.
More Easy Drawing Tutorials
If you enjoyed this unicorn drawing, try these other beginner-friendly guides for more practice:
- How to draw a horse
- How to draw a dog
- Easy cat drawing
- Easy rose drawing
- How to draw a cute cartoon turkey
Unicorn Crafts
Love unicorns? Try these kid-friendly unicorn craft ideas to complement your drawing:
- Stick unicorn with printable template
- Unicorn valentines craft
- Printable unicorn valentine box
- Printable unicorn birthday card