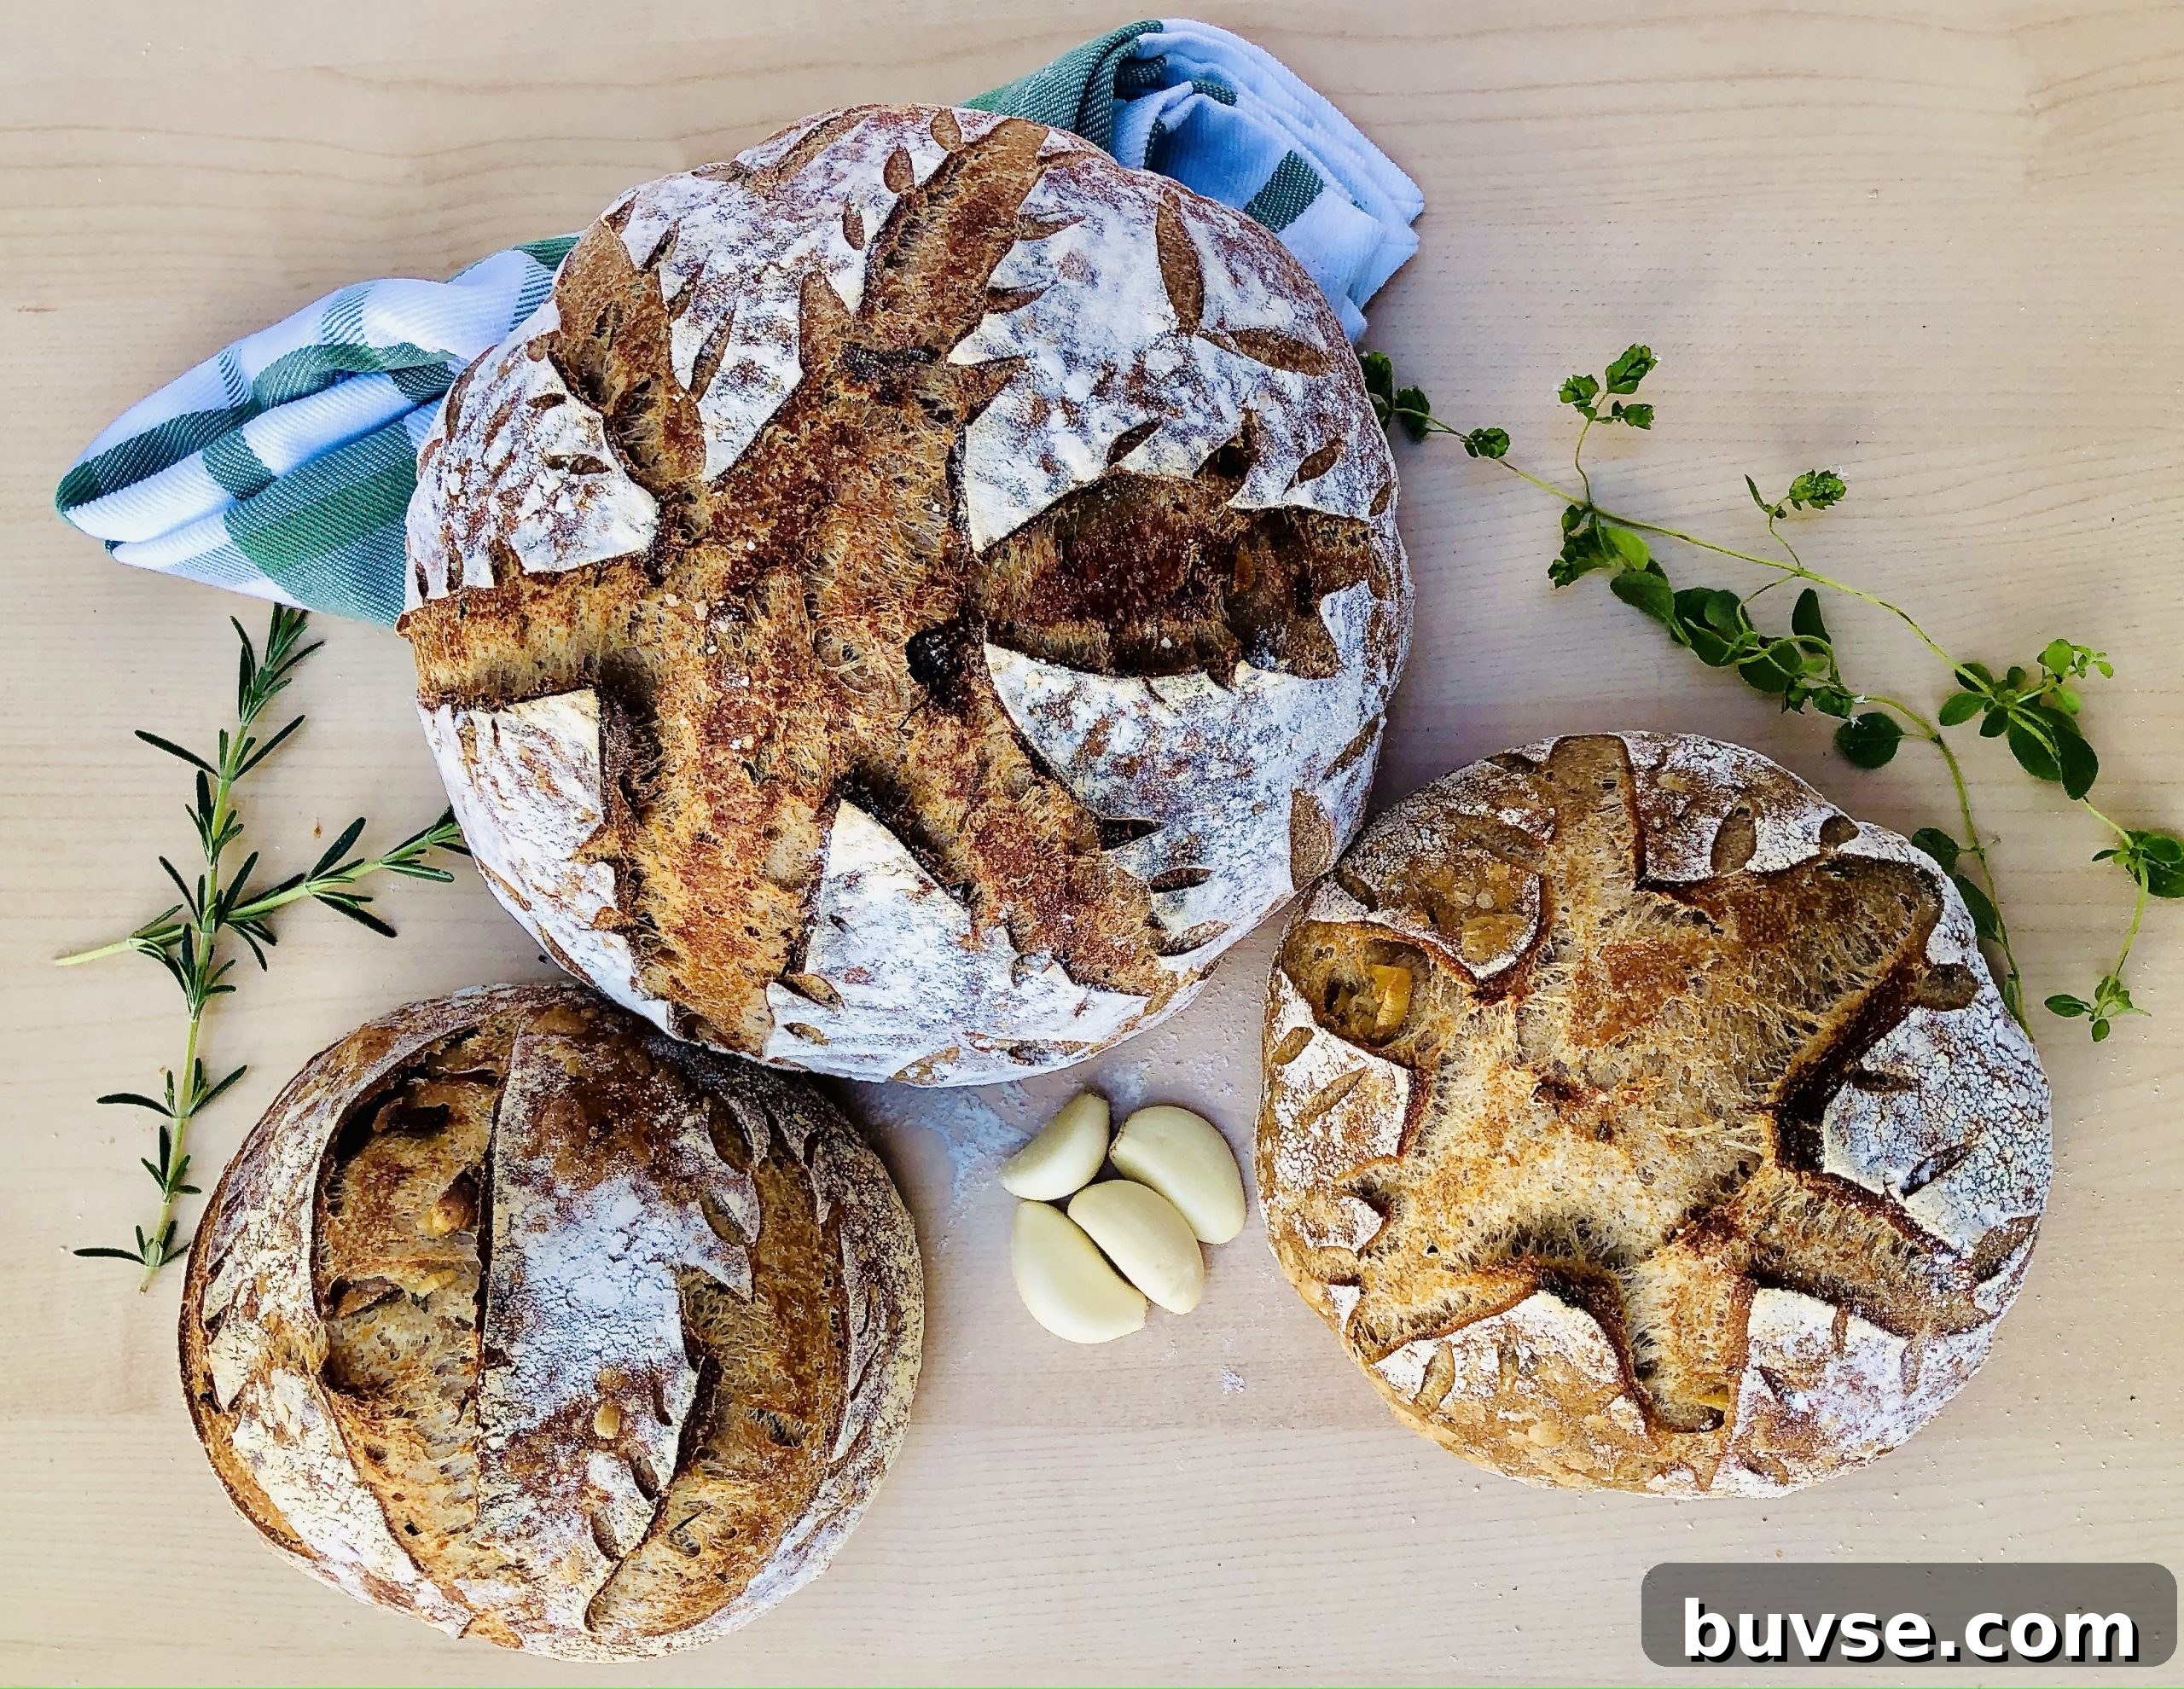
This roasted garlic and fresh herb sourdough pairs beautifully with both sweet and savory toppings. Roasted garlic softens and caramelizes into a sweet, spreadable paste that blends wonderfully with fresh rosemary, oregano and thyme. Beyond flavor, roasted garlic brings depth and aroma to the loaf, while the herbs give a fragrant, savory lift.
The savory toppings shown here came from a local CSA box from a family farm. Community Supported Agriculture (CSA) programs are one positive change coming from recent times: by buying from nearby growers you get very fresh produce and a wider variety that can inspire new recipes. In this case I topped the bread with caramelized red onion and fresh bruschetta. When the basil wilted a bit after delivery, I revived small stems by cutting the stem close to the leaves and placing them in water; that simple trick helped the basil stay usable for several days.
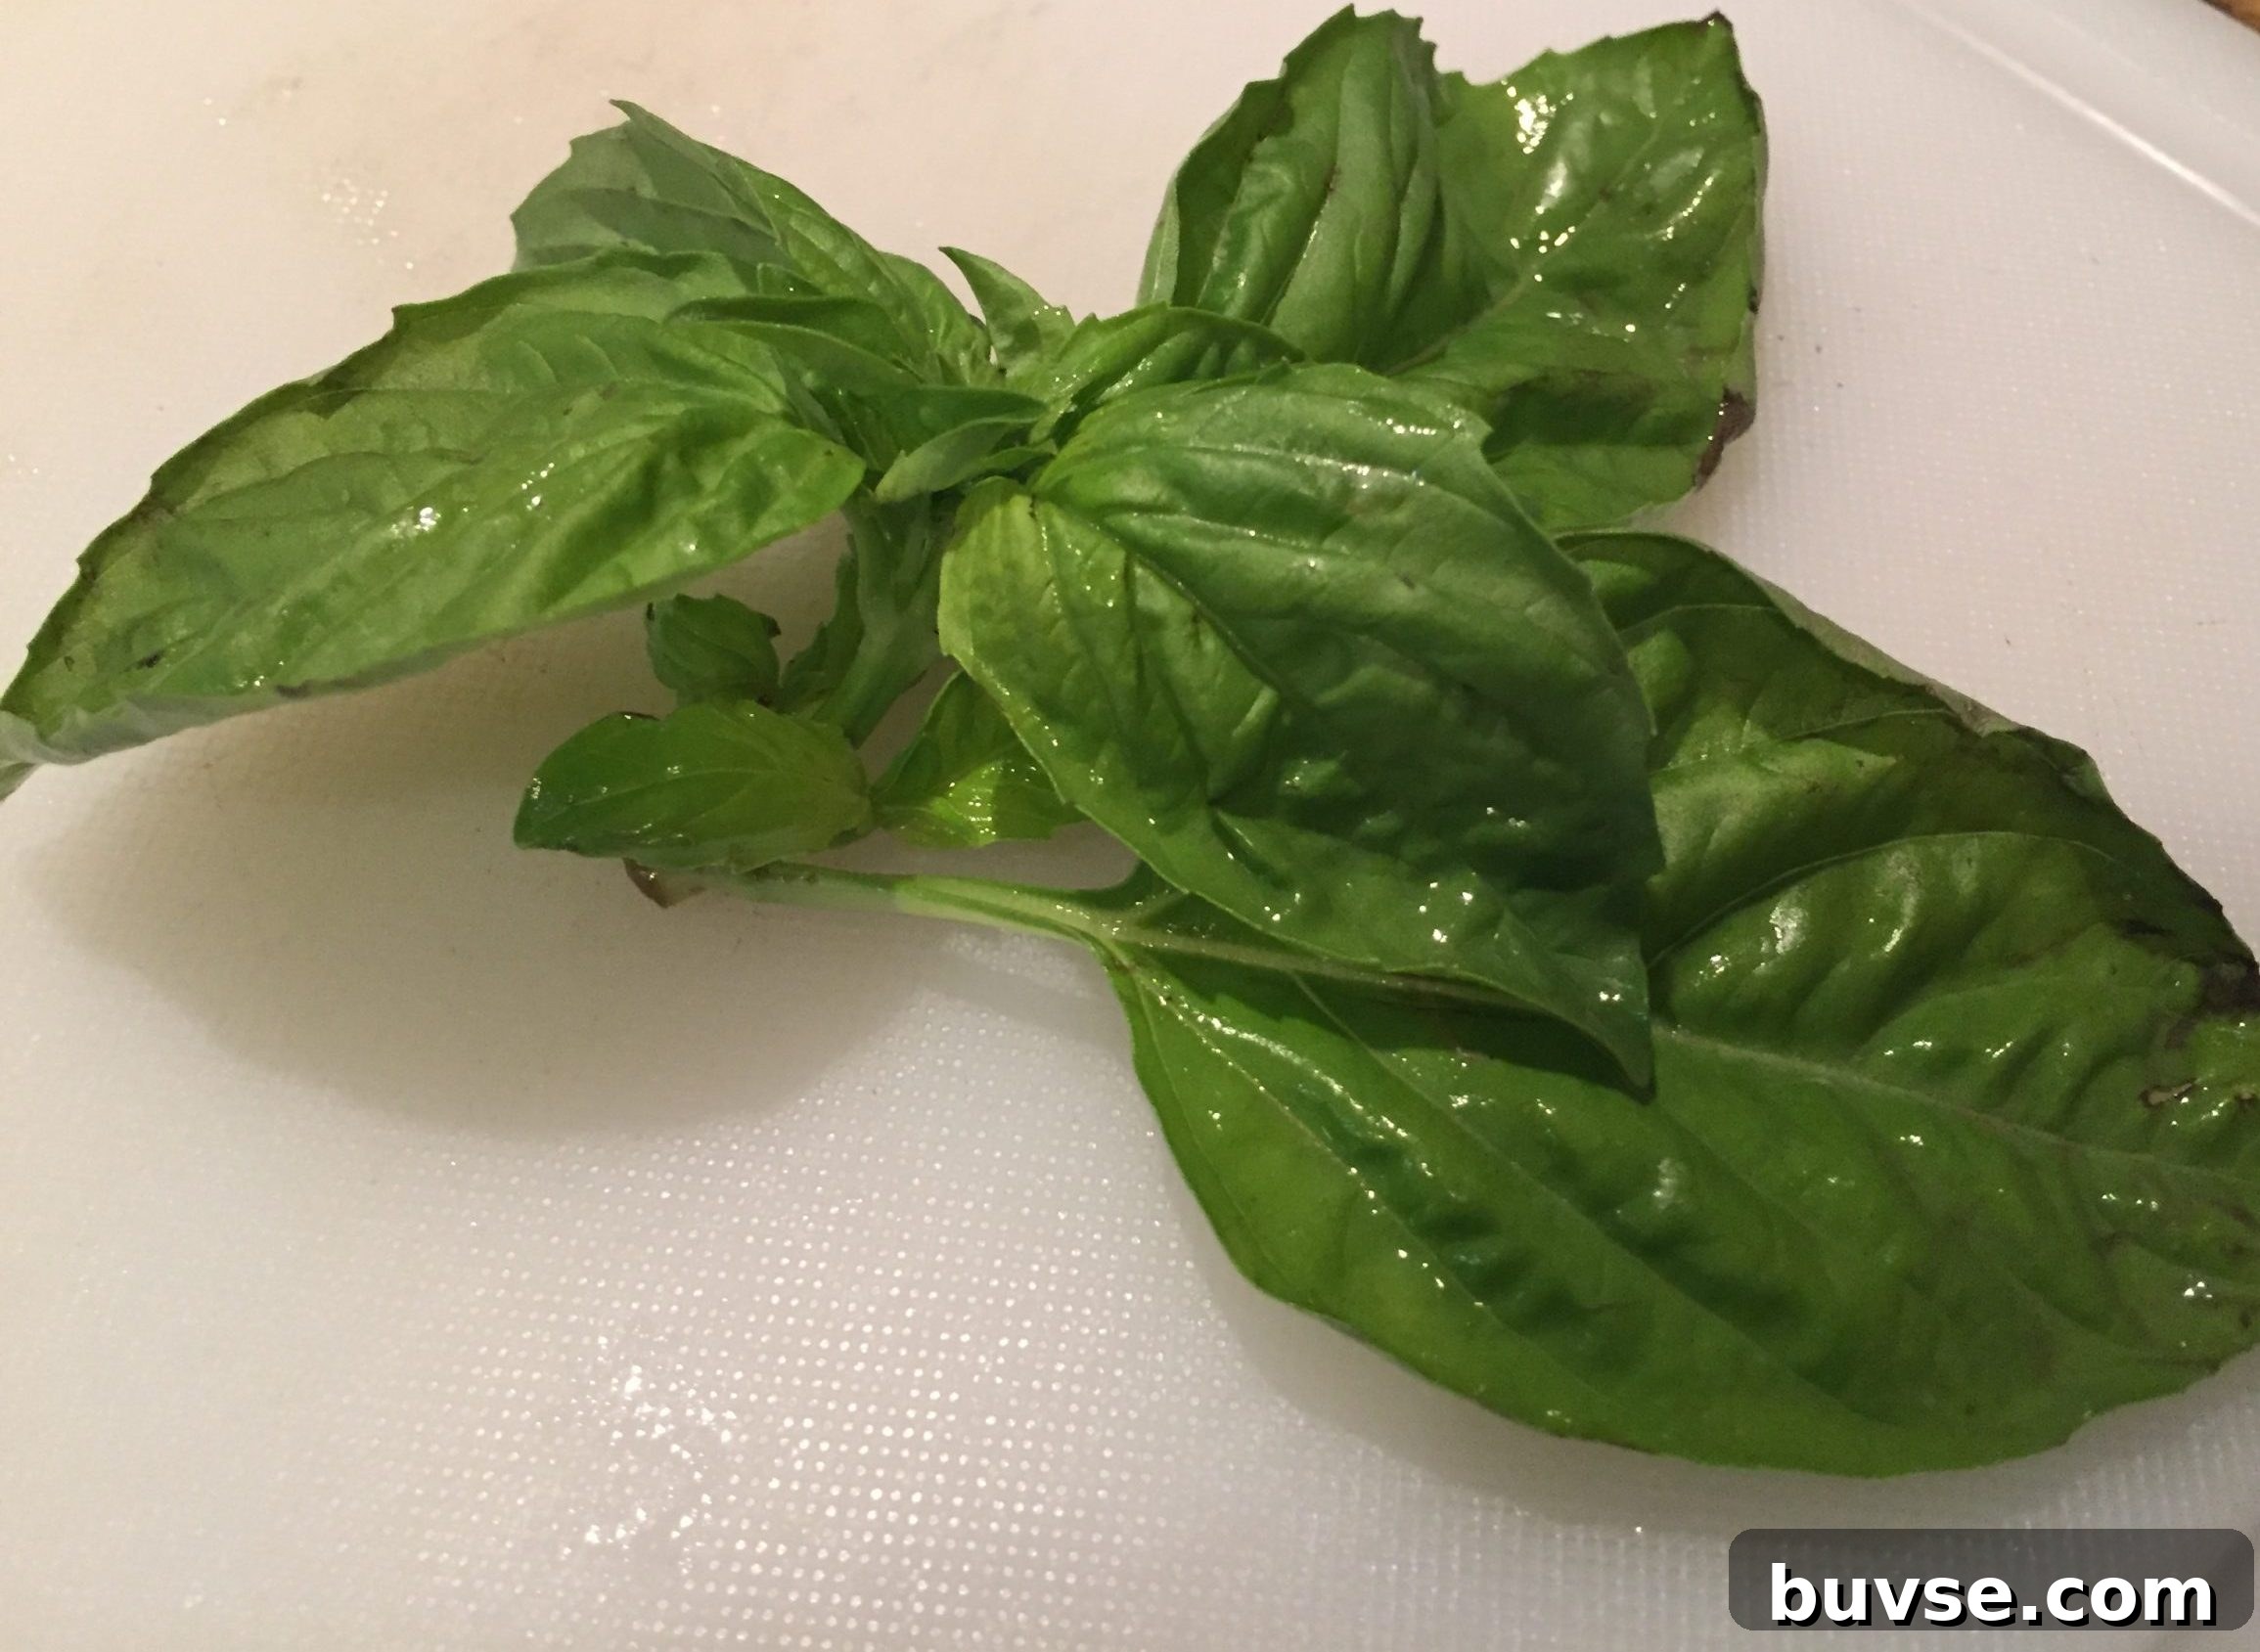
Fresh basil: cut the stem close to the leaves and stand in water to help revive it.
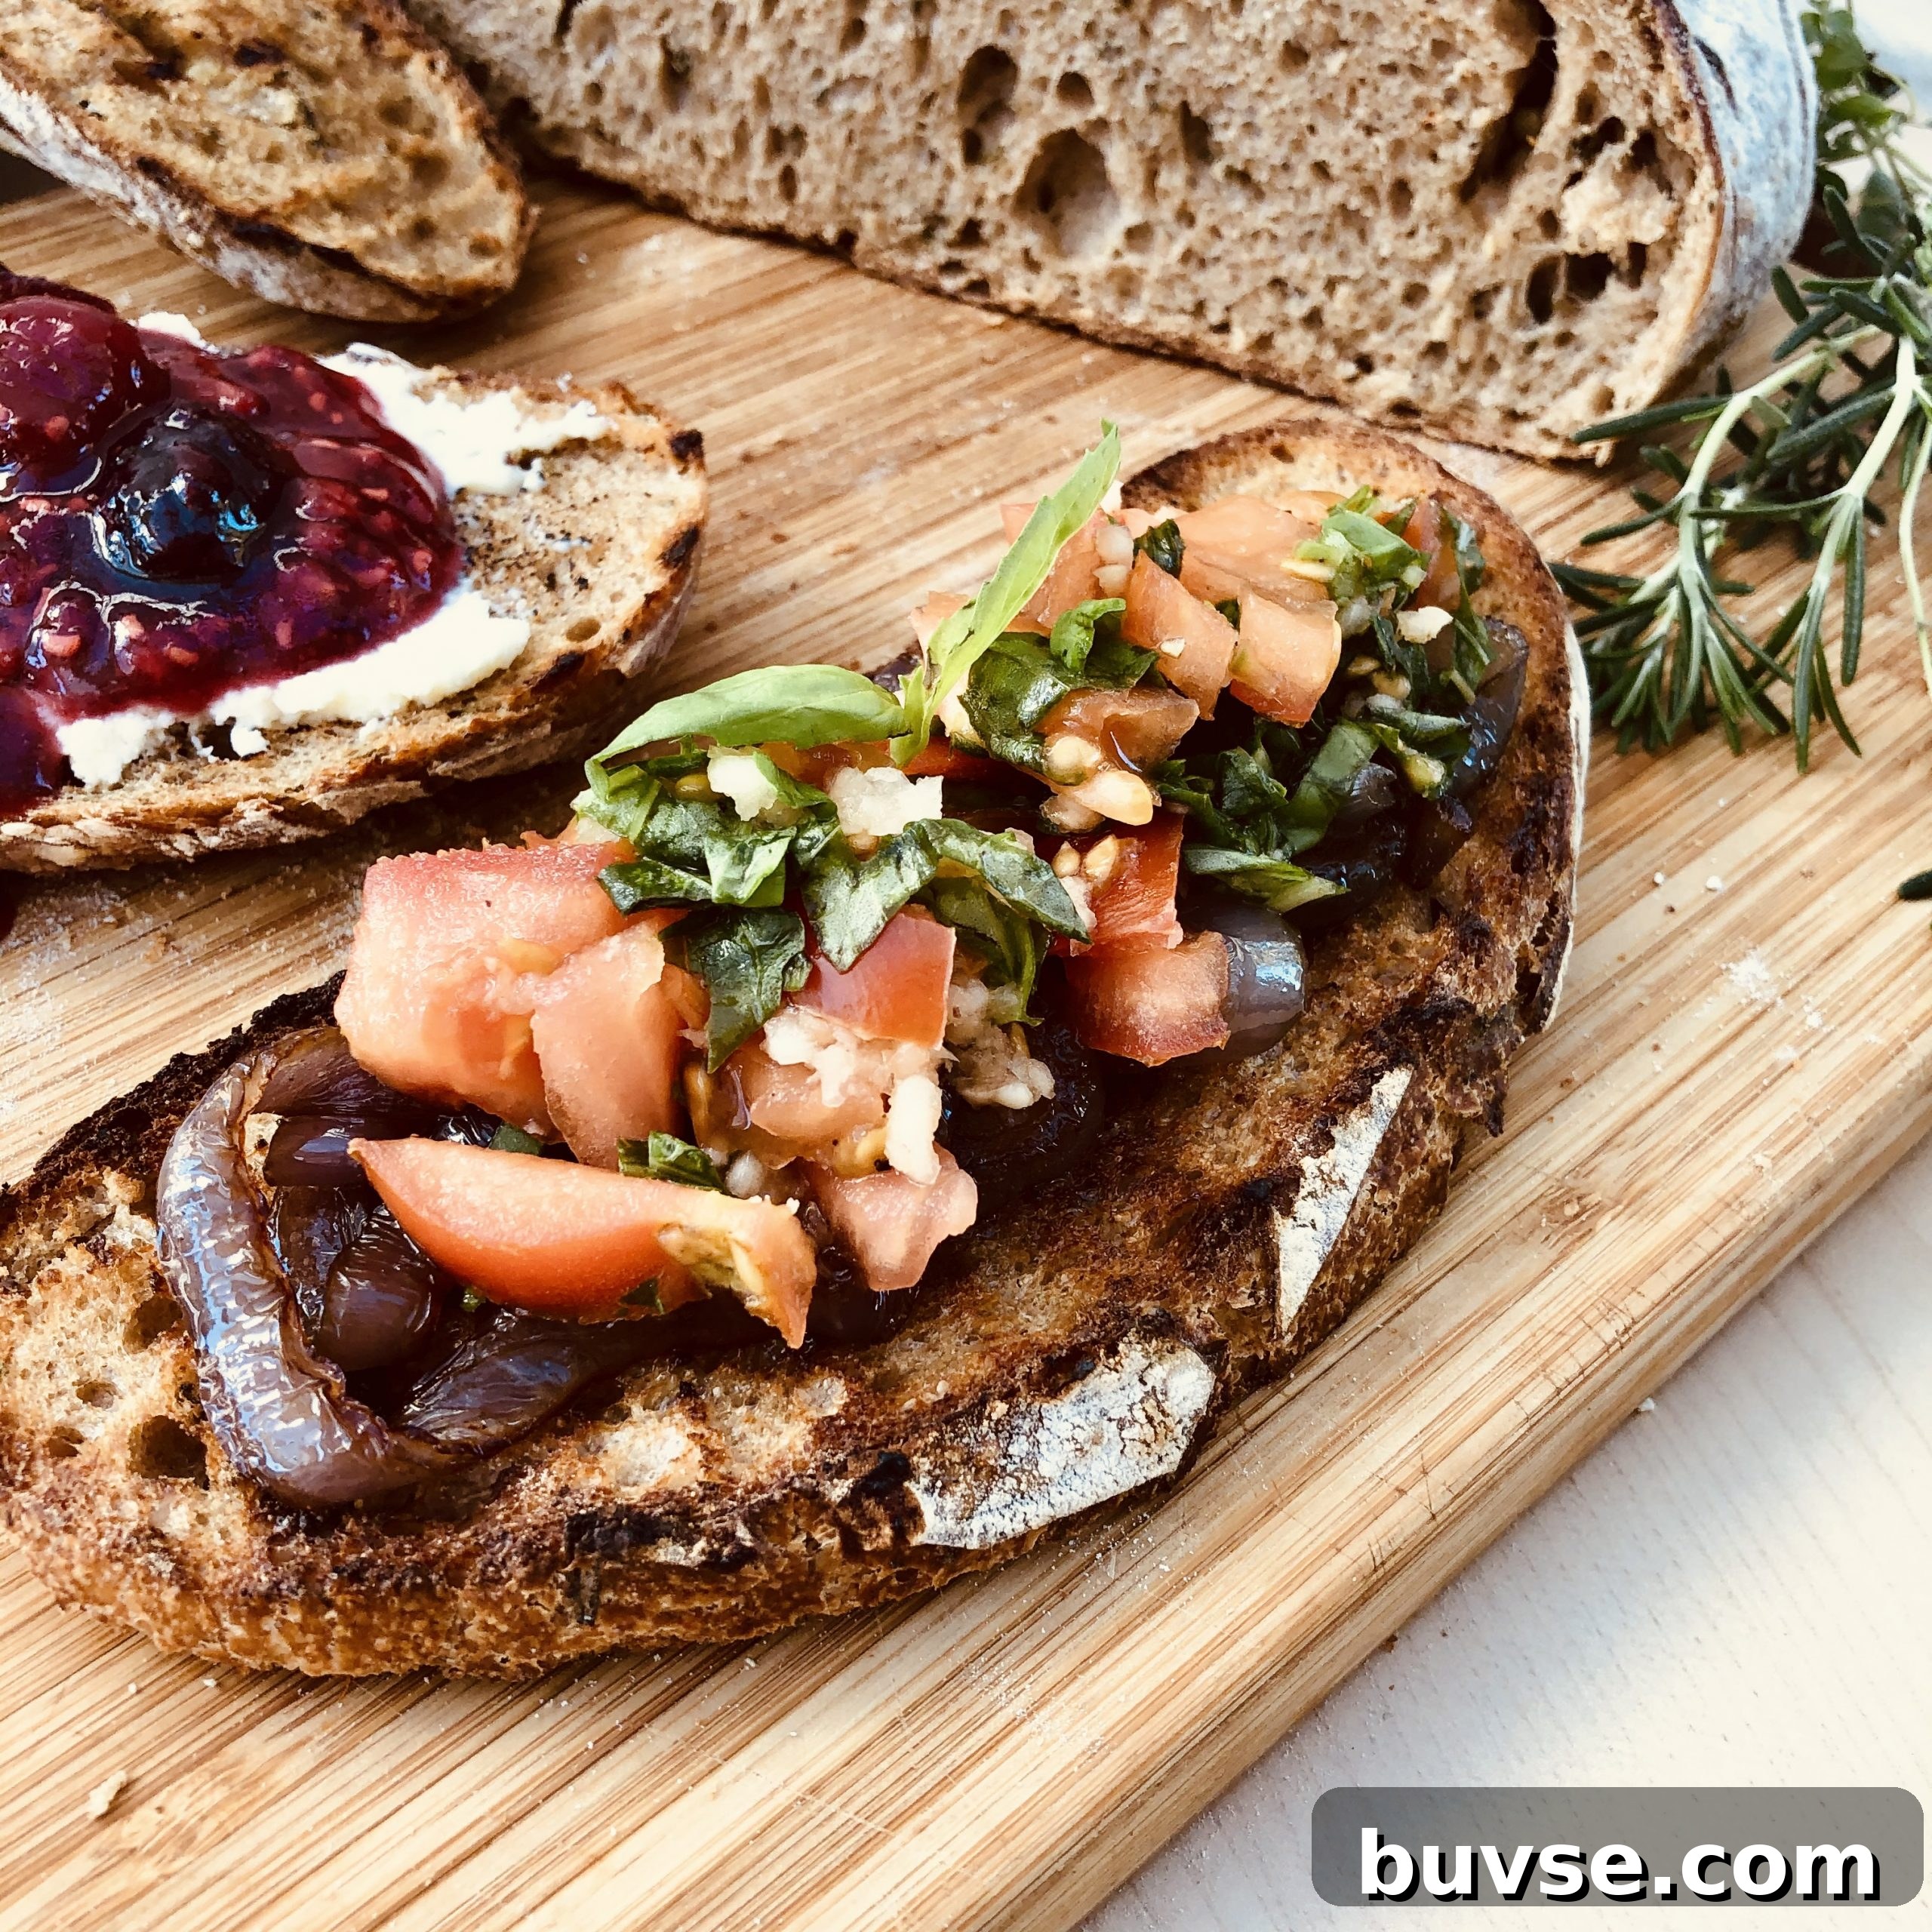
Savory bruschetta served on roasted garlic and herb sourdough.
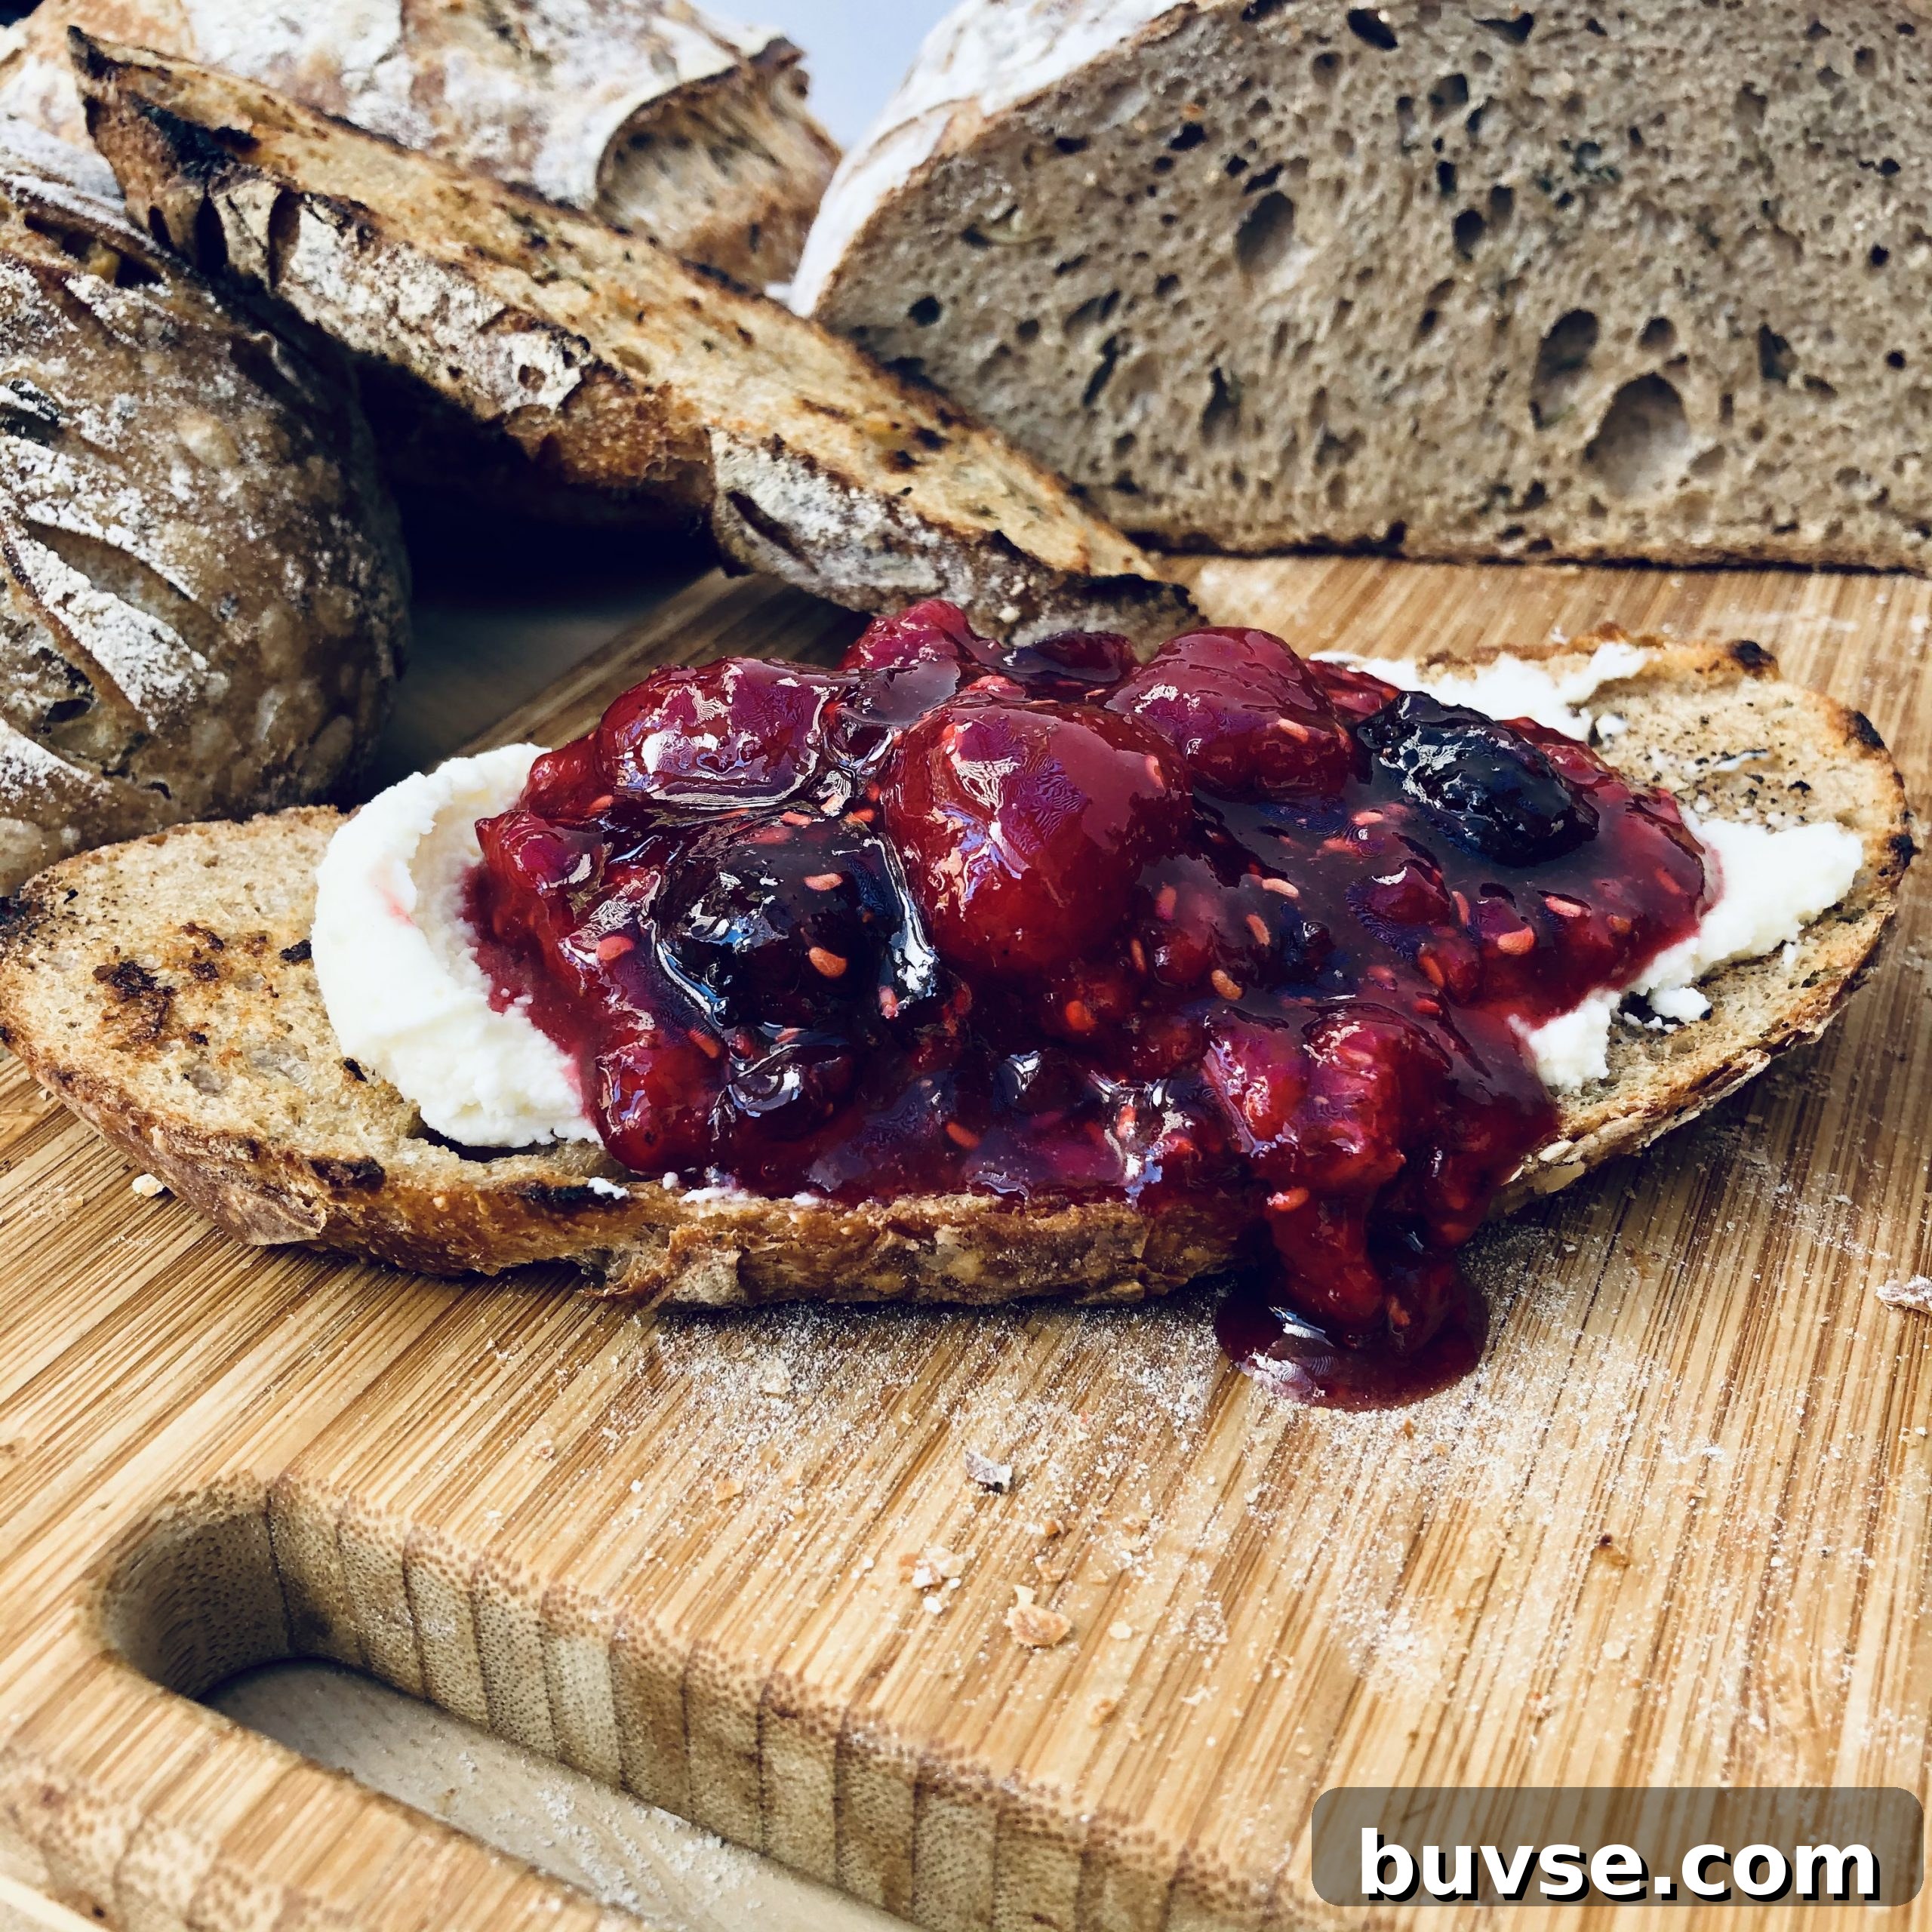
Mascapone and berry preserves make a lovely sweet contrast to the garlic and herbs.
This recipe offers two proofing approaches: a quick proof so you can make and bake the bread in a single day, and a slow, cold proof in the refrigerator to maximize flavor and the natural benefits of sourdough fermentation. I use a blend of bread flour and whole wheat flour here. Whole wheat adds fiber and a slightly denser crumb that keeps you satisfied longer. If you prefer a lighter color, substitute whole wheat white flour instead.
Tips
When to add inclusions
Add the chopped fresh herbs during the later stretch-and-folds so the dough develops strength in the early folds while still dispersing the herbs evenly. Add the roasted garlic during shaping so the garlic is enclosed inside the loaf; this helps prevent any garlic from sitting near the surface and burning during baking.
Roasted Garlic and Fresh Herb Sourdough
Author: Michelle Sam
A rustic sourdough loaf made with bread and whole wheat flours, studded with roasted garlic and fresh herbs.
Prep Time: 45 mins
Cook Time: 50 mins
Fermentation / Proofing: about 8 hrs 15 mins total (varies with method)
Total Time: ~9 hrs 50 mins (including proofing; shorter for quick method)
Makes: 1 large loaf (about 10 servings)
Calories: ~198 kcal per slice
Equipment
- Cast iron Dutch oven (or heavy oven-safe pot with lid)
- Banneton or proofing basket (or a bowl lined with a well-floured towel)
- Two large mixing bowls
- Bread lame, sharp razor or scissors for scoring
- Dough scraper and bench scraper
- Digital scale
- Clean dish towel to cover dough
Ingredients
- 370 grams lukewarm water (about 80°F / 27°C)
- 20 grams boiling water (to dissolve the salt)
- 350 grams bread flour
- 150 grams whole wheat flour
- 9 grams salt
- Rice + bread flour mixture for dusting the banneton
- 100 grams very active levain (ripe starter)
Inclusions
- 10 cloves fresh garlic, roasted and chopped (adjust to taste)
- 1 tablespoon fresh chopped rosemary
- 1 tablespoon fresh chopped oregano
- 1 tablespoon fresh chopped thyme
- 1 teaspoon olive oil
Instructions
Make the levain
Prepare a very active levain the night before, or use a well-fed, bubbly starter.
Prepare the inclusions
- Peel about half a bulb of garlic (roughly 10 cloves). Drizzle with a little olive oil, wrap in foil and roast at 350°F (177°C) for about 20 minutes, or until soft and caramelized. Once cool, slice or coarsely chop the roasted cloves.
- Chop the fresh rosemary, oregano and thyme and set aside.
Mix and autolyze
- Sift or whisk the bread and whole wheat flours together to remove lumps.
- In a separate bowl, dissolve the levain in the lukewarm water; it does not need to fully dissolve.
- Stir the water and levain into the flour until there are no dry spots. Cover and allow the dough to autolyze for 1 hour. This hydrates the flour and helps the dough develop structure.
- Dissolve the salt in the 20 grams of boiling water and let the solution cool while the dough autolyzes.
Bulk fermentation and developing strength
- After autolyze, add the cooled salt solution to the dough and incorporate thoroughly.
- Begin bulk fermentation. Over the next 2–3 hours at room temperature (70–80°F / 21–27°C), perform a series of stretch-and-folds: wet your hands, pull one side of the dough up and fold it over, rotate a quarter turn and repeat. Do several sets with rests in between to build strength.
- As the dough strengthens, continue periodic folds and 30-minute rests until the dough feels soft and pliable and shows some rise. If it still feels weak, extend bulk fermentation by 30–60 minutes.
- Add the chopped rosemary during a later set of folds so the herbs distribute without weakening the dough early on.
Shaping
- Turn the dough onto a lightly floured surface with the seam side down. Gently stretch the outer edges to form a rectangular “pizza” shape.
- Sprinkle the chopped roasted garlic over the surface, then roll the dough from the short side into a tight log. Tuck the ends underneath and shape into a taut, squarish boule by pulling the dough toward you while rotating. The goal is to create surface tension and reduce very large air pockets.
- Let the shaped loaf rest for about 20 minutes, then refine the shape if needed.
- Prepare your banneton by dusting it generously with the rice/bread flour mixture. Place the loaf seam-side up (dome on the bottom) in the banneton.
Proofing — Quick method
- Cover the banneton with a damp cloth and let the loaf rise in a warm place for about 2 hours. For extra warmth, some bakers place it in an oven with the light on.
- When the dough has risen and passes the gentle poke test, preheat your oven to 500°F (260°C) with the Dutch oven inside for at least 45–60 minutes to ensure the pot is very hot.
Proofing — Slow cold method (recommended for flavor and nutrition)
- Allow the shaped dough to proof at room temperature for 1 hour, then transfer the covered banneton into a sealed plastic bag and refrigerate for 12–16 hours. Cold-proofing improves flavor development and can make the dough easier to score.
- When ready to bake, preheat the oven to 500°F (260°C) with the Dutch oven inside.
Scoring and loading
- Turn the banneton over onto a piece of crumpled parchment paper that will fit inside your Dutch oven. Brush off or lightly dust additional flour as needed.
- Score the loaf with a bread lame, razor or sharp scissors to create an intentional expansion line and an attractive pattern.
- Carefully lower the scored loaf (on the parchment) into the preheated Dutch oven and cover with the lid.
Baking
- Reduce the oven temperature to 450°F (232°C) and bake covered for 25 minutes (for a standard large loaf). Smaller vessels may bake 20 minutes covered.
- Remove the lid and continue to bake for an additional 20–25 minutes until the crust is deeply browned and the internal temperature is in the safe range for bread.
- Remove the loaf from the Dutch oven and cool completely on a wire rack for at least one hour before slicing to allow the crumb to finish setting.
- To bake a second loaf, return the pot to 500°F (260°C) for a brief period to reheat before repeating the process.
Notes
This recipe yields one large loaf that fits a roughly 3.3-quart (24 cm) cast iron Dutch oven. The slow proof method gives a more developed flavor and can increase the nutritional benefits associated with longer sourdough fermentation. The dough is easier to score when cold, and the enclosed roasted garlic will give pockets of sweet, mellow garlic through the crumb.
Nutrition (approximate per slice)
Calories: 198 kcal • Carbohydrates: 40 g • Protein: 7 g • Fat: 2 g • Fiber: 3 g • Sodium: 353 mg
Keywords
country bread, crusty bread, roasted garlic, rosemary, sourdough, whole wheat
Tried this recipe? Let me know how it turned out or ask any questions in the comments section.