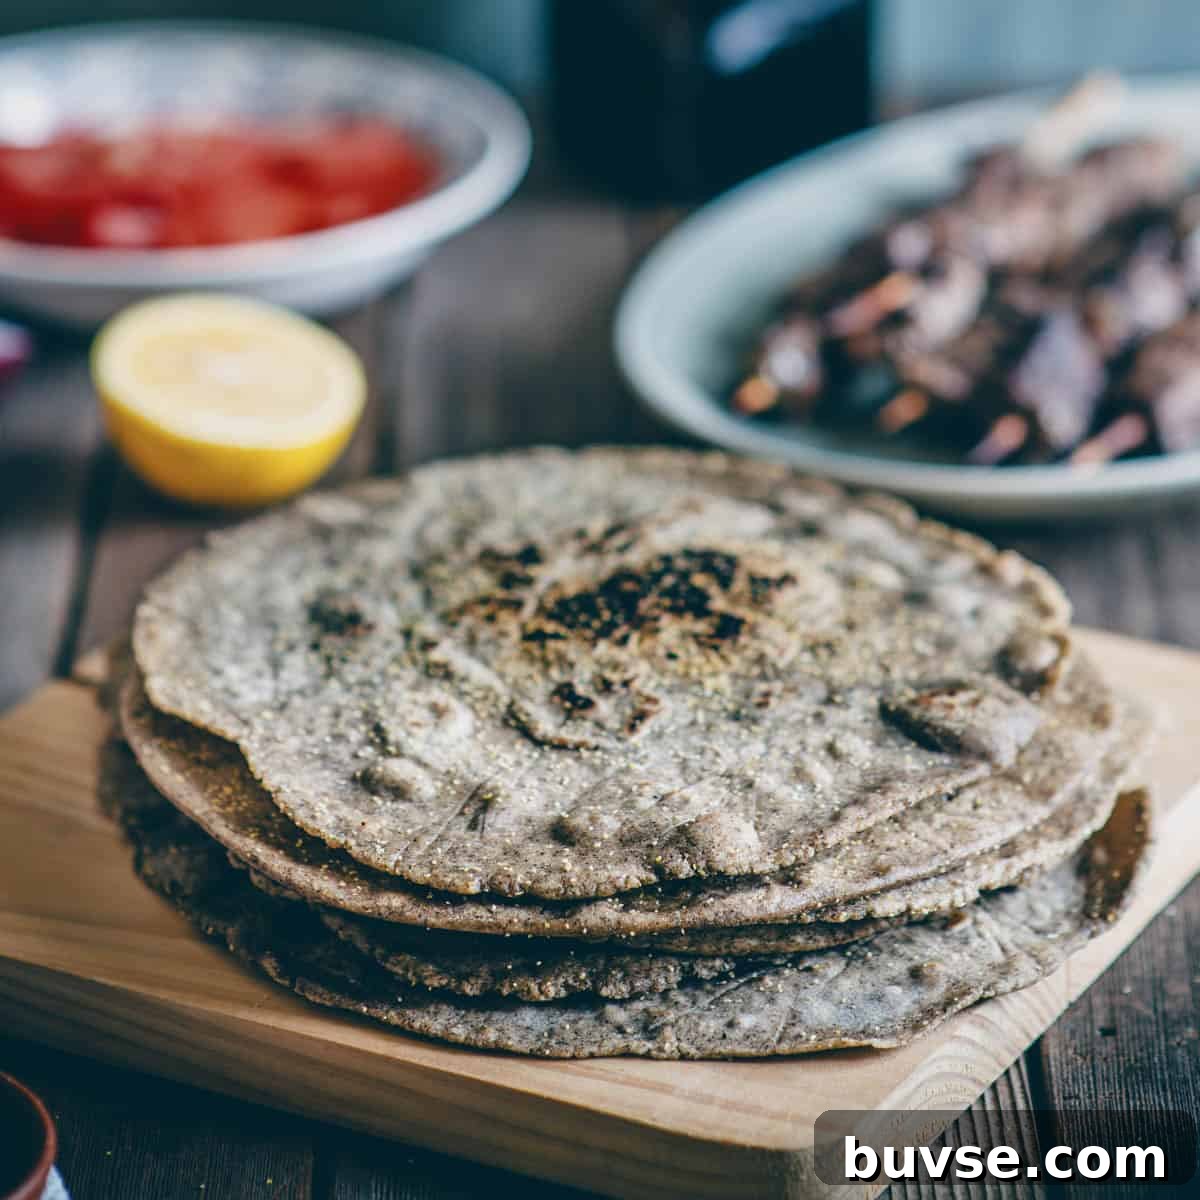
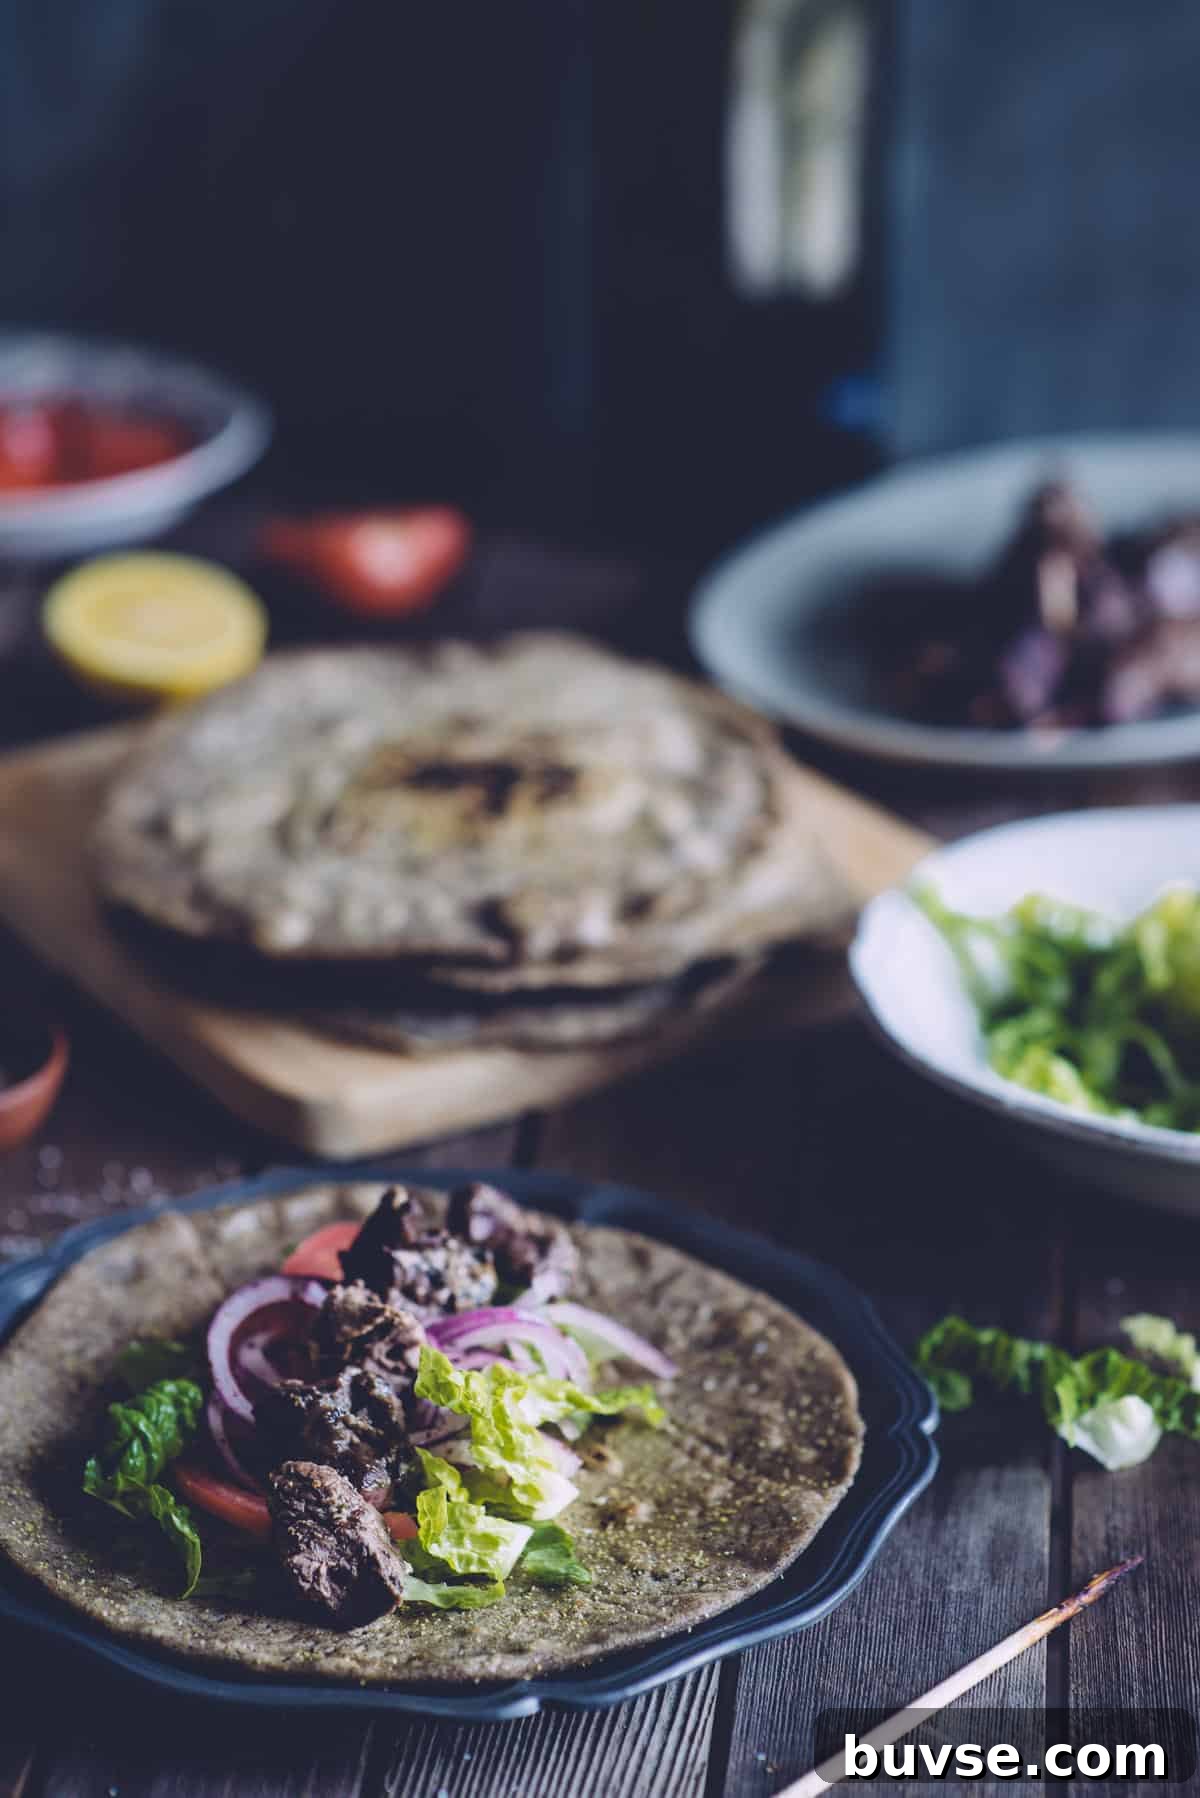
Buckwheat pita bread is a gluten-free take on the classic Greek pita: soft, flexible and sturdy enough for wraps, dipping or tearing apart while still warm. Unlike many gluten-free flatbreads that turn dry or crumbly, these pitas stay tender and pliable. The nutty, earthy flavour of buckwheat flour complements Greek-style dips and fillings, and the finished breads hold up well as smaller souvlaki-style sandwiches or for dunking into sauces.
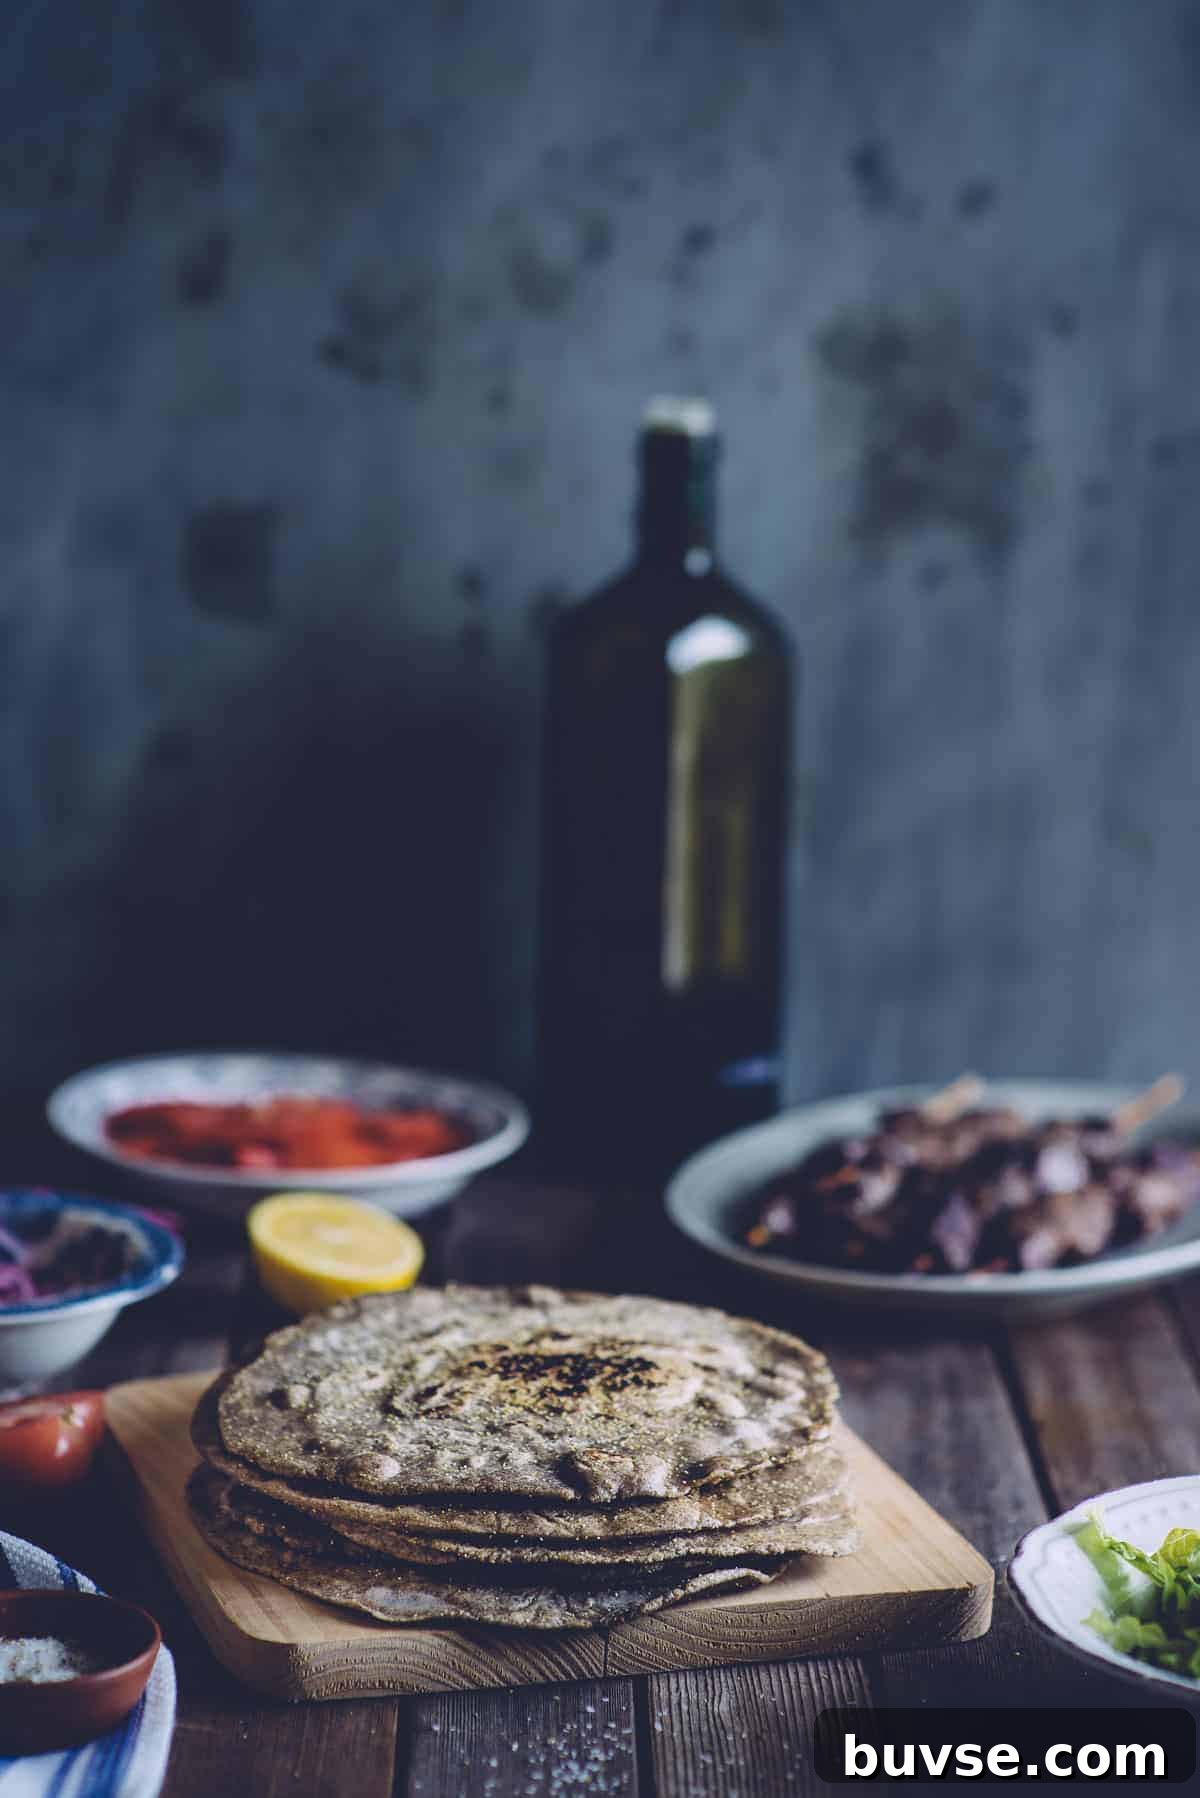

Recipe Snapshot
- 💬 What it is: A soft gluten-free buckwheat pita bread made without wheat flour or yeast.
- ❤️ Why you’ll love it:
- Soft and flexible — they bend without cracking
- Naturally gluten-free and straightforward to make
- Perfect for wraps, dipping and smaller souvlaki-style sandwiches
- Freezer-friendly and great for meal prep
- 👨🍳 How it works: A psyllium gel provides structure and elasticity, combined with buckwheat flour, baking powder, buttermilk and olive oil to produce a pliable dough that cooks quickly in a hot, dry pan.
Personal note
- I developed this recipe during a period of experimenting with gluten-free breads that actually feel useful and enjoyable. After many trials this version delivers a soft, flexible pita suitable for everyday meals.
- If you are not strictly gluten-free, there are other pita and flatbread variations that use wheat or yogurt in the dough; this buckwheat version is specifically designed to be naturally gluten-free while remaining tender.
Ingredients
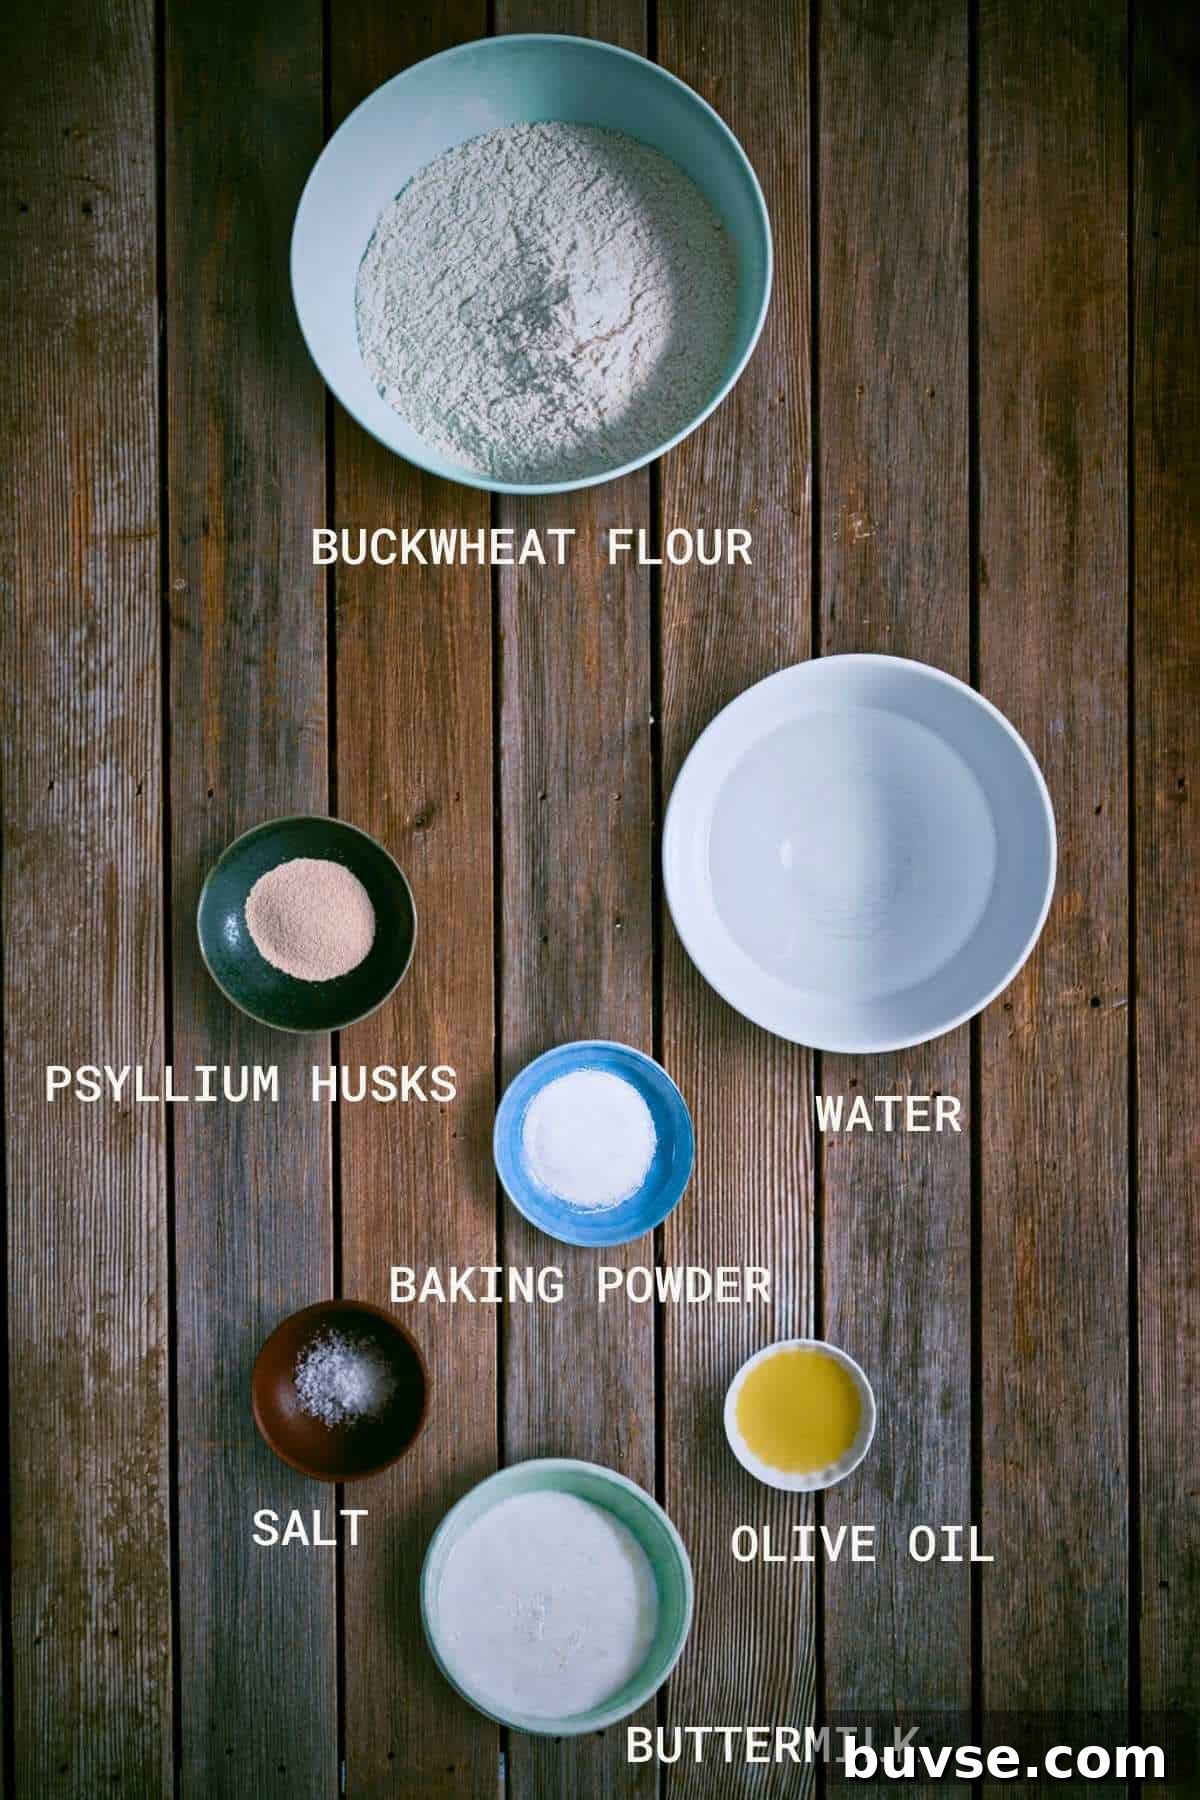
- Buckwheat flour: Provides the earthy flavour and naturally gluten-free base for these pitas.
- Psyllium husk powder: Key for structure and flexibility. Use powder rather than whole husks for the correct texture.
- Buttermilk: Keeps the breads tender and helps with a softer crumb; Greek yogurt or sour cream can be substituted if preferred.
- Olive oil: Adds flavour and helps keep the dough supple during shaping and cooking.
How to Make Buckwheat Pita Bread
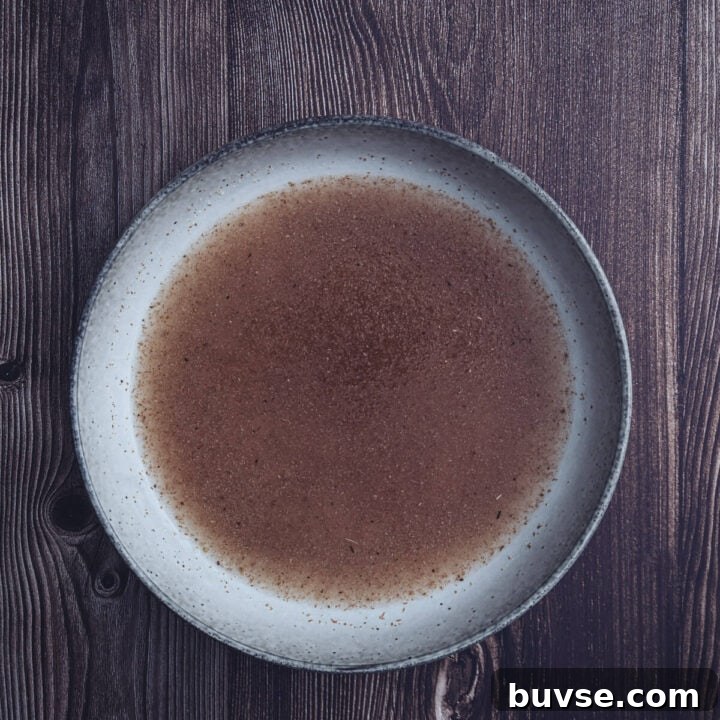
Make the psyllium mixture
Whisk the psyllium husk powder into water and set aside for about 10 minutes until it becomes thick and gel-like. This gel is what gives the dough its elasticity and cohesion without gluten.
Mix the dough
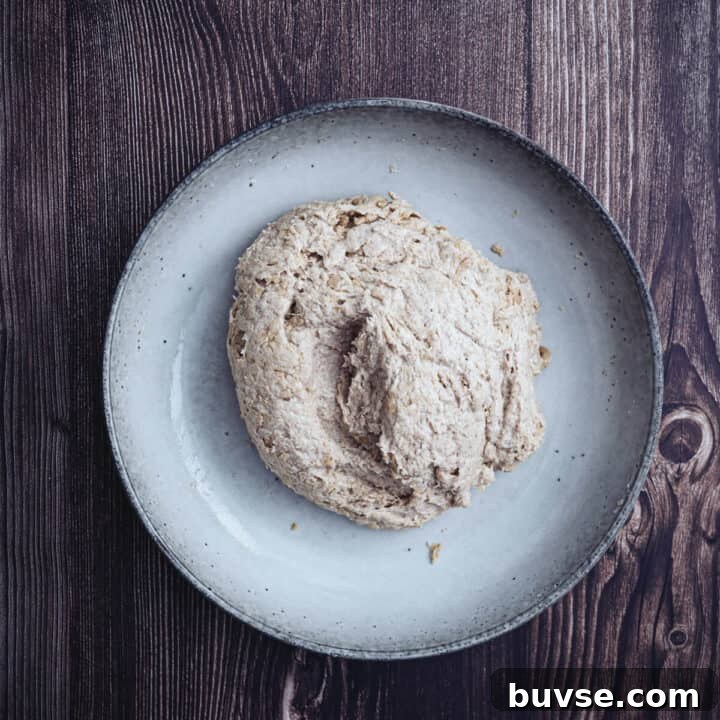
Combine buckwheat flour, baking powder and salt. Add the psyllium gel, then the buttermilk and olive oil. Mix until you have a soft, slightly sticky dough. Avoid adding too much extra flour — that will dry the finished pitas.
Divide the dough
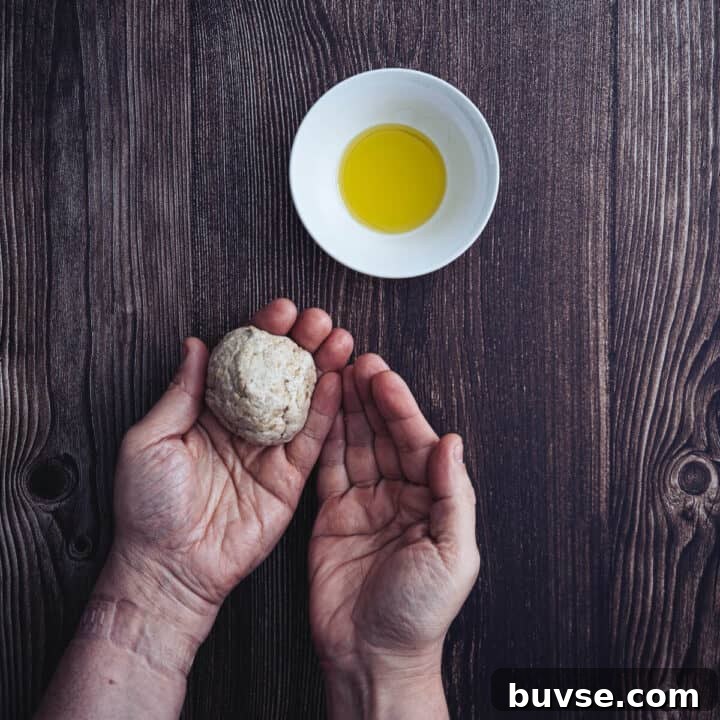
Portion the dough into equal pieces and shape each into a ball using lightly oiled hands. Oiling your hands prevents sticking and helps keep the dough delicate.
Shape the pita
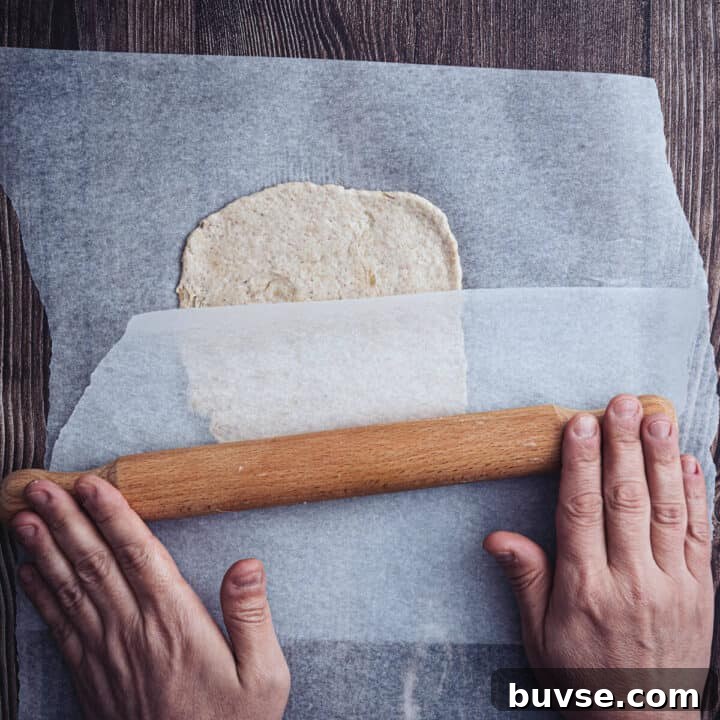
Flatten each dough ball between two sheets of parchment paper into rustic rounds about 15–16 cm wide. The parchment makes transferring the pita to the pan much easier.
Cook until lightly charred
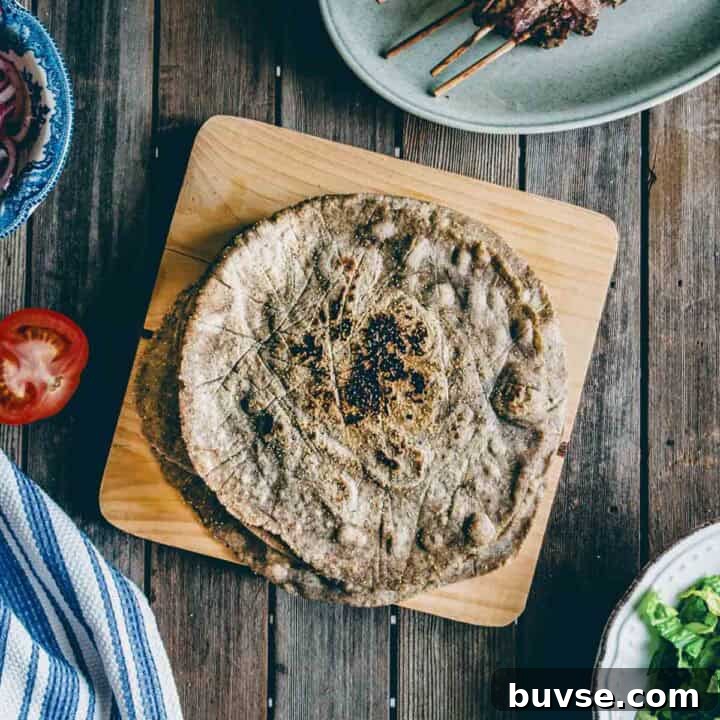
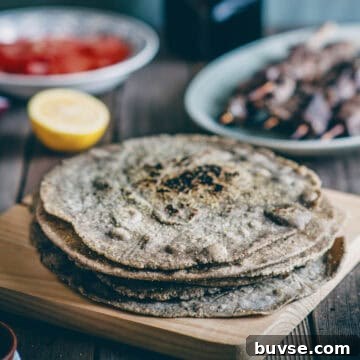
Heat a well-seasoned cast-iron or non-stick pan until hot. Carefully peel the pita from the parchment and cook in the dry pan for around 2 minutes per side, until cooked through with golden spots and a little charring. Once cooked, wrap the pitas in a clean towel to keep them soft and warm.
Peter’s Tips
- Use psyllium husk powder: Powdered psyllium was used when testing this recipe; it reliably provides elasticity and structure. Whole husks won’t perform the same way.
- The dough will be slightly sticky: That’s normal. Avoid adding lots of extra flour, which can make the finished pitas dry and dense.
- Oil your hands generously: Buckwheat dough is delicate. Lightly oiled hands make shaping simple and help prevent tearing.
- Be gentle when transferring the pita: If you’re worried about handling, shape the pieces a little thicker — they will hold together better and are still delicious.
- Cook in a dry pan: Don’t oil the pan; the dough already contains oil. A hot, dry surface produces the best texture and slight charring.
- Wrap them to retain softness: Placing the cooked pitas in a clean towel helps them soften and stay pliable for serving.
Serving Suggestions
- Serve warm with Greek-style dips such as tzatziki, melitzanosalata (eggplant dip) or taramasalata. Their earthy buckwheat flavour pairs especially well with tangy or herbed dips.
- Use them for smaller souvlaki-style wraps or alongside hearty soups where their texture and flavour can stand up to bold accompaniments.
Storage and Freezing
- Store cooked pitas in an airtight container in the refrigerator for up to 5 days. They may firm up when chilled but will soften after 15–20 seconds in the microwave or a few minutes in a warm oven.
- To freeze, layer pita between sheets of parchment paper and place in a zip-top bag or airtight container. Thaw and warm before serving.
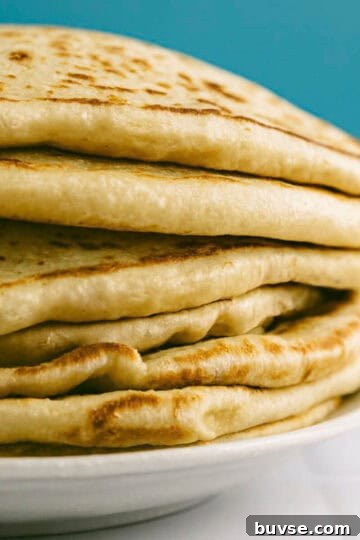
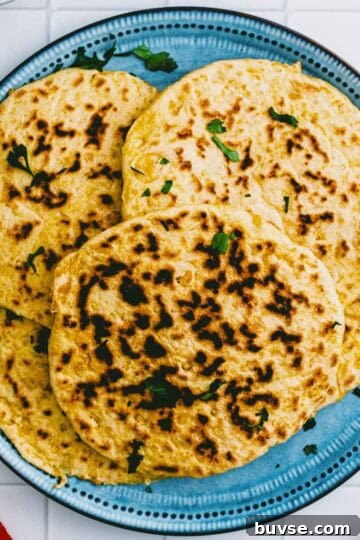
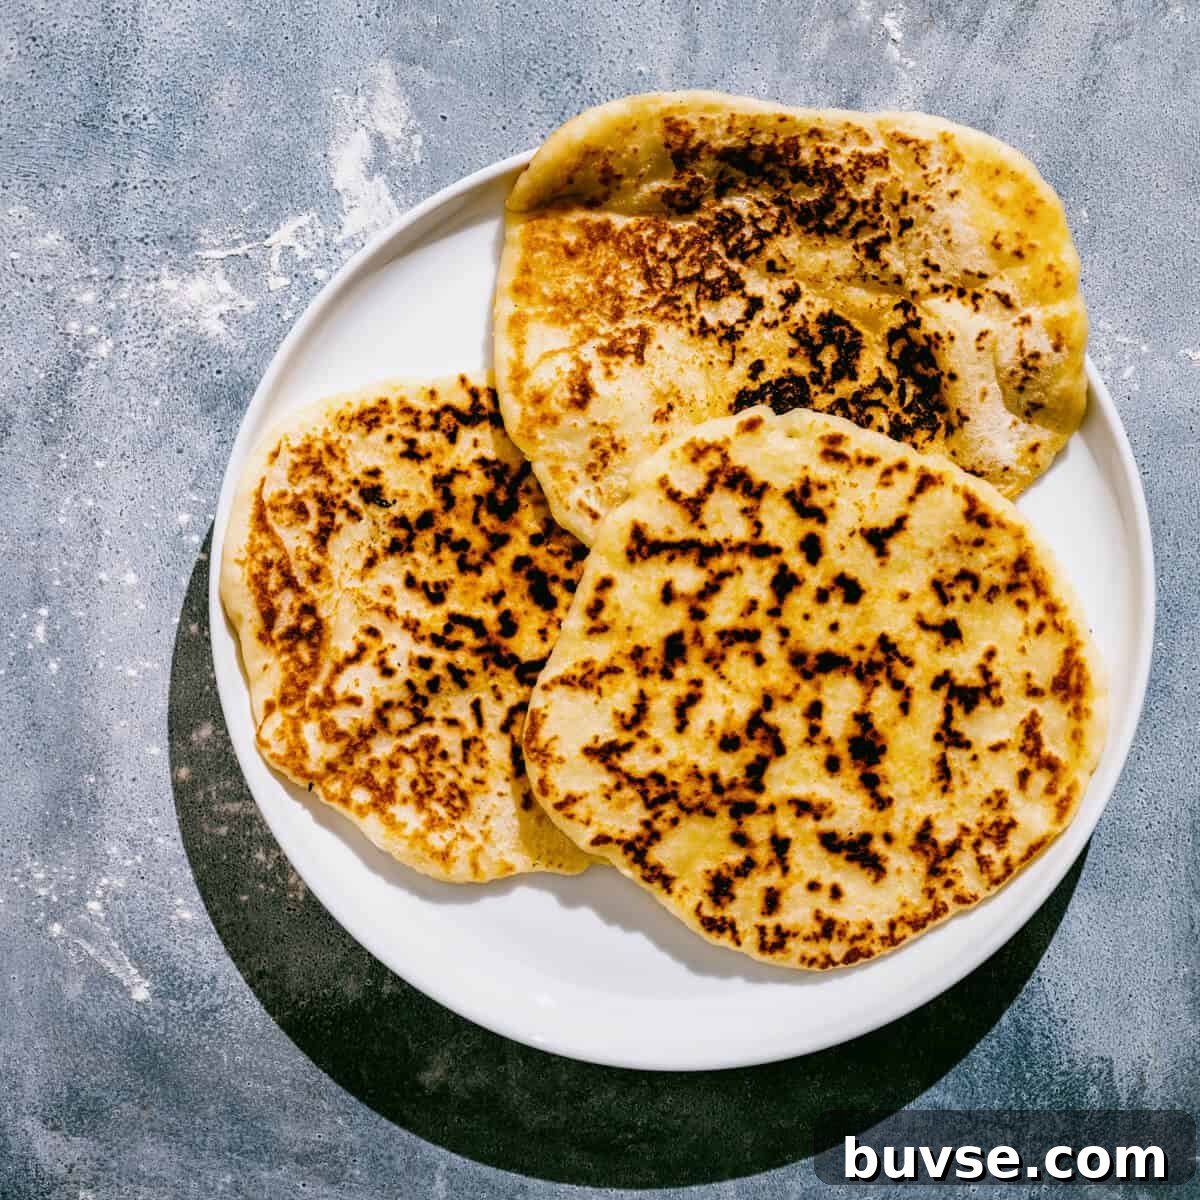
More pita and flatbreads
-
 Greek Pita Bread
 -
Chickpea Flatbread
-
Greek Yogurt Flatbread
-
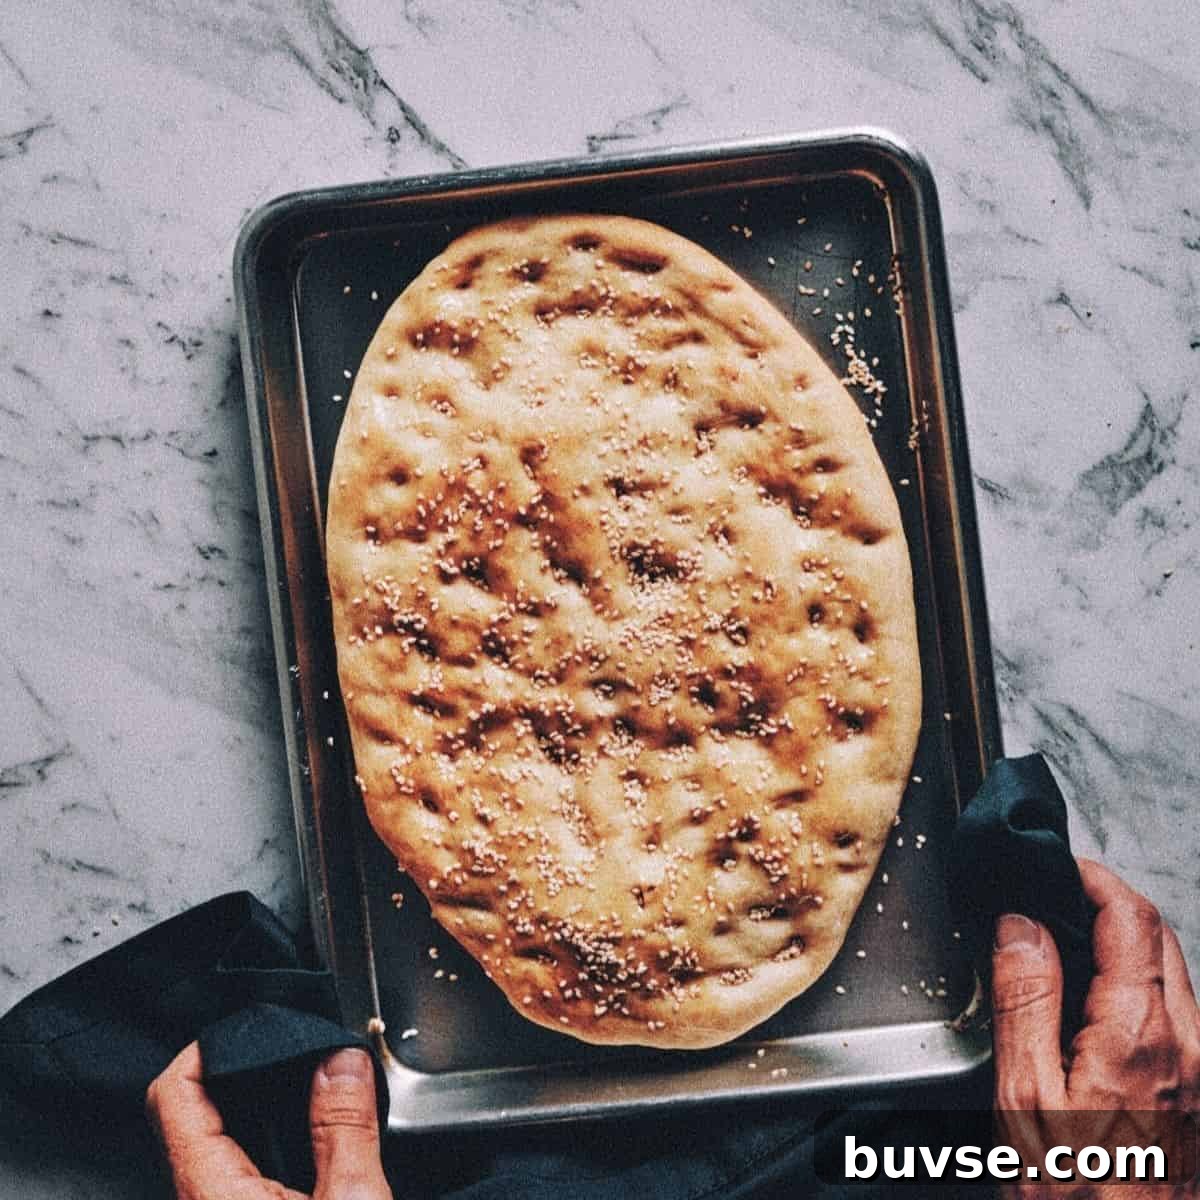
Lagana – Traditional Greek Flatbread
📖 Recipe
Buckwheat Pita Bread
Ingredients
- 300 ml water
- 13 g psyllium husk powder
- 340 g buckwheat flour
- 8 g baking powder
- 1 teaspoon salt
- 50 ml buttermilk
- 30 ml olive oil
Instructions
Make the dough
- In a large bowl whisk together the water and psyllium husk powder. Set aside for 10 minutes until thick and gel-like.
- In another bowl combine the buckwheat flour, baking powder and salt.
- Add the psyllium gel to the dry ingredients, then stir in the buttermilk and olive oil. Mix until a soft dough forms. The dough will be slightly sticky; this is normal.
Shape the pita
- Divide the dough into 8 equal portions. With lightly oiled hands shape each portion into a ball.
- Place each ball between two sheets of parchment paper and press or roll into rustic rounds about 15–16 cm wide.
Cook the pita
- Heat a well-seasoned cast-iron or non-stick pan over medium-high heat until hot.
- Carefully peel the pita from the parchment and cook for about 2 minutes per side, until lightly charred and cooked through.
- Wrap the cooked pita in a clean tea towel to keep them soft and warm before serving.
Peter’s Tips
- This recipe was tested using psyllium husk powder, which is important for the dough’s structure. Whole husks perform differently.
- Buttermilk helps keep the pita tender; Greek yogurt or sour cream can be substituted.
- Be generous with the olive oil in the dough — it prevents sticking and keeps the dough supple.
- Resist adding extra flour. Though tempting, too much flour will make the pita dry and dense once cooked.
- Use lightly oiled hands and parchment paper for easier shaping and transfer; the dough is naturally delicate.
- Do not oil the pan. The dough already contains oil, and cooking in a dry pan gives the best texture and light charring.
Nutrition
Calories: 243 kcal |
Carbohydrates: 43 g |
Protein: 7 g |
Fat: 7 g |
Saturated fat: 1 g
Nutrition information is approximate and provided for convenience; values are estimates.
© Souvlaki For the Soul
This post was first published in July 2013 and has since been updated with new photos and refinements to the recipe.