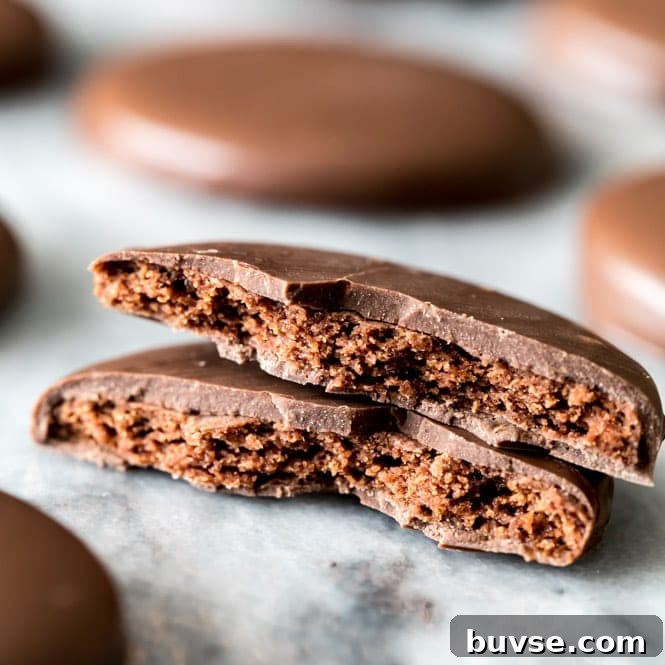
Make homemade copycat Thin Mint cookies right in your kitchen: thin, crisp chocolate wafers with a refreshing peppermint flavor, coated in dark chocolate. No Girl Scouts required.
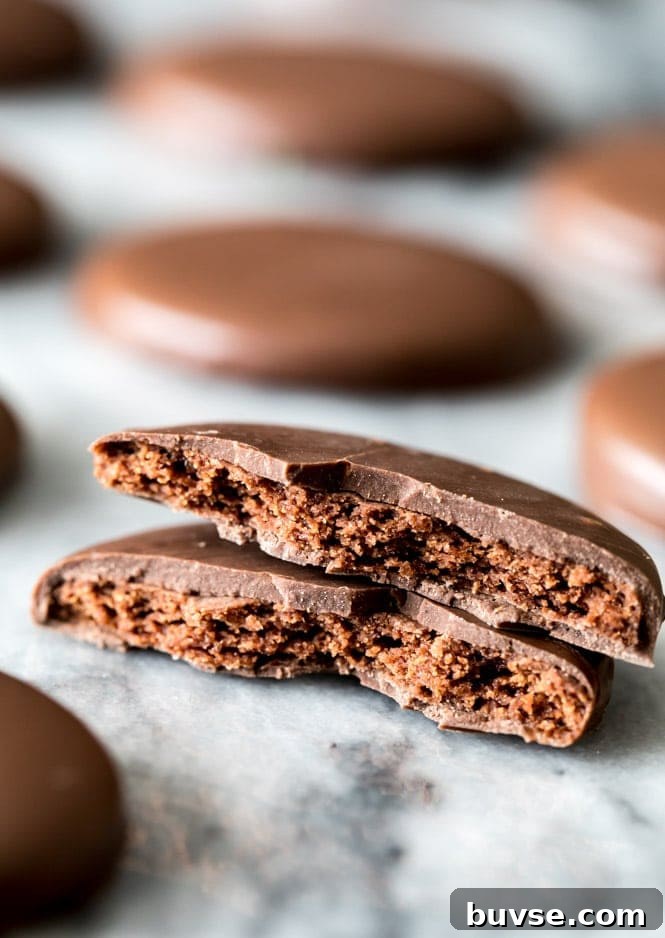
I love supporting local Girl Scout troops, but sometimes the craving for that signature thin, minty chocolate cookie hits when there’s no troop in sight. When a craving becomes urgent, the best solution is to bake your own.
These copycat Thin Mints deliver a crisp chocolate wafer infused with peppermint and dipped in a dark chocolate shell. The base starts with a simple chocolate cookie dough that’s crisp and easy to roll. After chilling, you can roll the dough thin and cut neat rounds to mimic the classic store-bought shape.
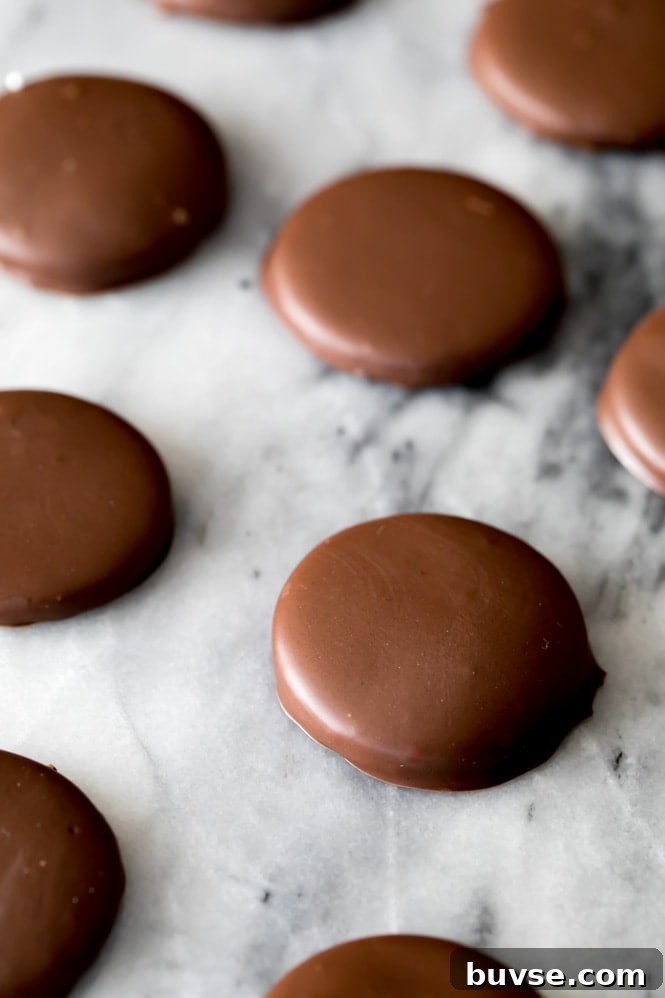
These cookies are surprisingly quick and inexpensive to make. The dough benefits from at least an hour in the fridge, which makes rolling much easier and helps keep the cookies thin and crisp. I prefer them very thin — about 1/8″ to 1/6″ — to match the classic Thin Mint texture, but you can adjust thickness if you like a sturdier cookie.

Tips for Making Copycat Thin Mint Cookies
- The cookie dough is fairly dry. Scrape the sides and bottom of the mixing bowl while combining so all ingredients are evenly incorporated.
- Use peppermint extract — not generic “mint” extract — for the authentic, bright peppermint flavor. “Mint” extracts often lean toward spearmint, which changes the final taste.
- Peppermint extract can seize melted chocolate. To prevent this, melt the peppermint with a small amount of shortening and then stir that mixture into the melted chocolate. This helps keep the coating smooth and glossy.
- Decorative sprinkles are optional, but they’re an easy way to dress up the cookies for holidays like St. Patrick’s Day.

Enjoy!
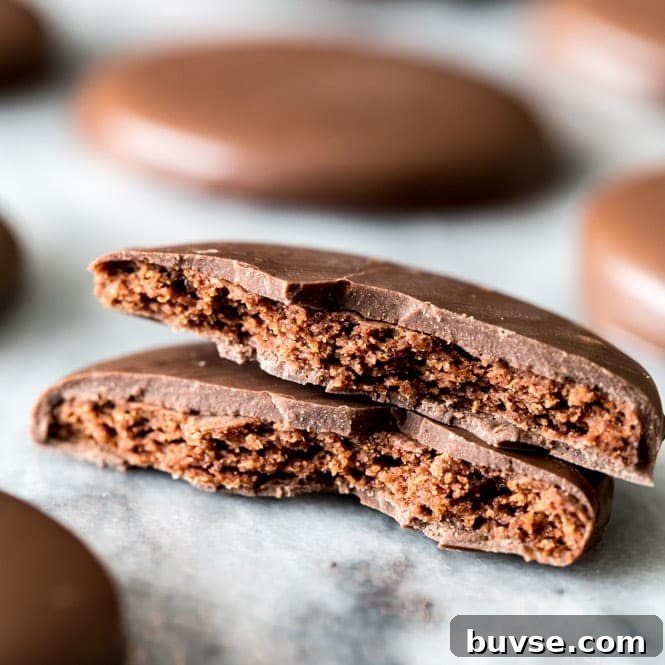
Copycat Thin Mint Cookies
Homemade Thin Mints: crisp chocolate wafers flavored with peppermint and coated in dark chocolate.
Prep: 15 mins | Cook: 9 mins | Total: 24 mins | Yield: 75 cookies
Ingredients
- 1 cup (226 g) unsalted butter, softened
- 1 cup (200 g) sugar
- 1 large egg
- 1/2 teaspoon vanilla extract
- 1/4 teaspoon peppermint extract (be sure it’s labeled “peppermint”)
- 1 3/4 cups (220 g) all-purpose flour
- 2/3 cup (67 g) natural cocoa powder
- 1/2 teaspoon baking powder
- 1/2 teaspoon salt
Mint Chocolate Coating
- Two 10 oz packages dark chocolate melting wafers, divided
- 2 teaspoons shortening, divided
- 1/2 teaspoon peppermint extract, divided
- Sprinkles, optional
Instructions
Cookie Dough
- In a large bowl or the bowl of a stand mixer, beat the softened butter and sugar together until creamy and well combined.
- Add the egg and mix until incorporated.
- Stir in the vanilla and 1/4 teaspoon peppermint extract.
- In a separate bowl, whisk the flour, cocoa powder, baking powder, and salt.
- Gradually add the dry ingredients to the wet mixture, stirring until a uniform dough forms. Be sure to scrape the sides and bottom of the bowl so everything is evenly mixed.
- Divide the dough in half. Shape each half into a disk about 1″ thick, wrap in plastic, and chill for at least 1 hour.
- When chilled, preheat the oven to 350°F (175°C) and line baking sheets with parchment paper.
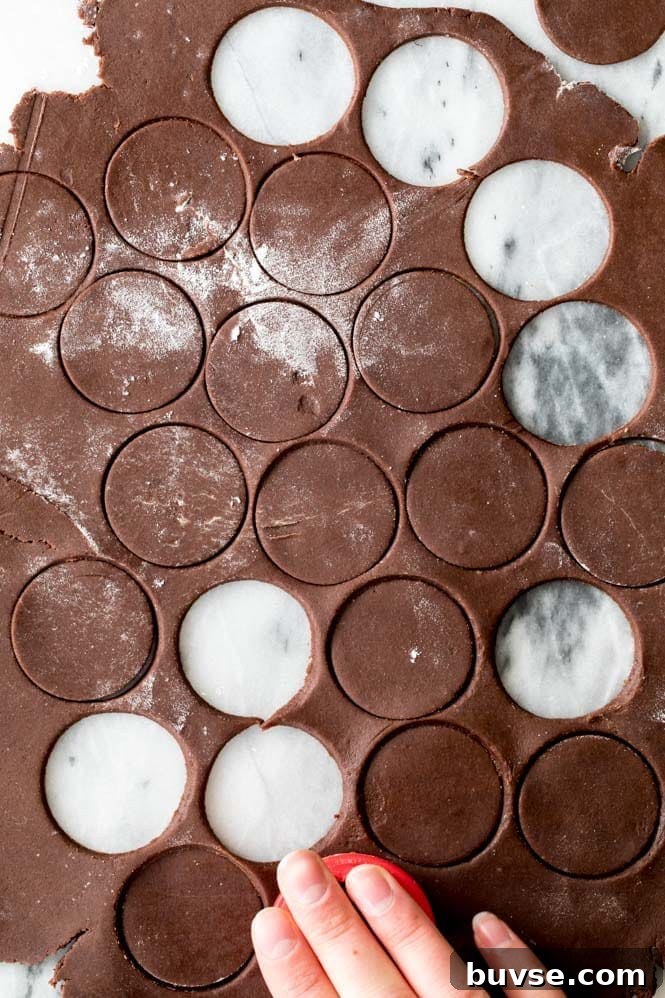
- On a lightly floured surface, roll one disk of dough to about 1/8″–1/6″ thickness. Use a 1 3/4″ round cutter to cut circles and transfer them to the prepared baking sheets. The cookies won’t spread much, so place them about 1/2″–1″ apart.
- Re-form scraps and roll again to cut as many cookies as possible.
- Bake at 350°F (175°C) for 8–9 minutes. Allow the cookies to cool completely before coating.
Mint Chocolate Coating
- Melt one 10 oz package of dark chocolate melting wafers in a microwave-safe bowl according to package directions, or melt gently in a double boiler. Set aside.
- In a small bowl, combine 1 teaspoon shortening and 1/4 teaspoon peppermint extract. Microwave briefly just until the shortening melts. This helps the extract incorporate without seizing the chocolate.
- Stir the shortening-and-extract mixture into the melted chocolate until smooth and glossy.
- Using dipping tongs, a fork, or another utensil, hold a cooled cookie and dip it into the chocolate, letting excess drip off before transferring the coated cookie to wax paper. If you want to add sprinkles, do so immediately—the chocolate sets quickly.
- When the first batch of chocolate is used, melt the second package of wafers and repeat with the remaining shortening and extract.
- Allow the chocolate to harden fully before serving or storing.
Nutrition (approx.)
Serving: 1 cookie | Calories: 46 kcal | Carbohydrates: 5 g | Protein: 1 g | Fat: 3 g
Nutrition information is an estimate and should be used as a guideline.
Like this recipe? Leave a comment below!
Tools used for this recipe
- Round cookie cutter (about 1 3/4″)
- Rolling pin
- Microwave-safe bowls or a double boiler for melting chocolate
- Dipping fork or tongs (a regular fork will also work)