This post is sponsored by Mohawk Flooring. All opinions are entirely my own, and I’m grateful to work with a company I trust.
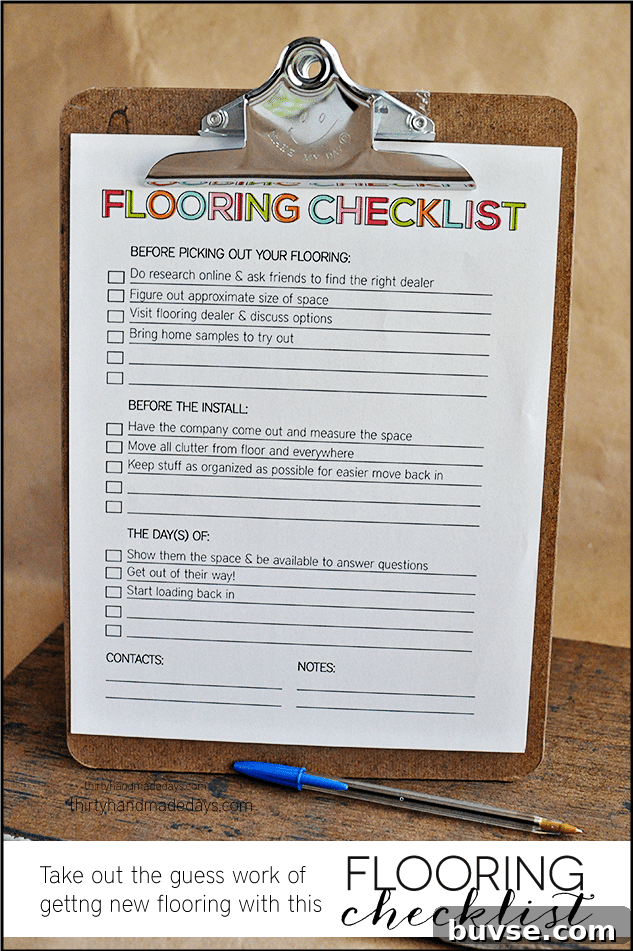
Over the past few months I’ve been sharing our family’s process of replacing our floors. What I expected to be a straightforward project turned into something much bigger, and along the way I learned a lot. To help anyone else facing the same decision, I created a new flooring checklist printable to simplify the process and keep everything organized.
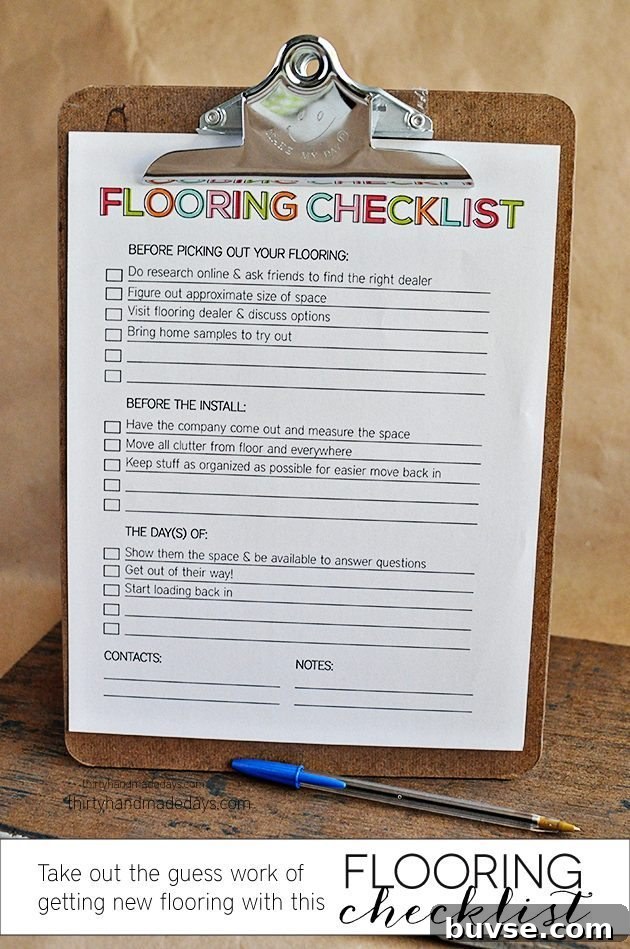
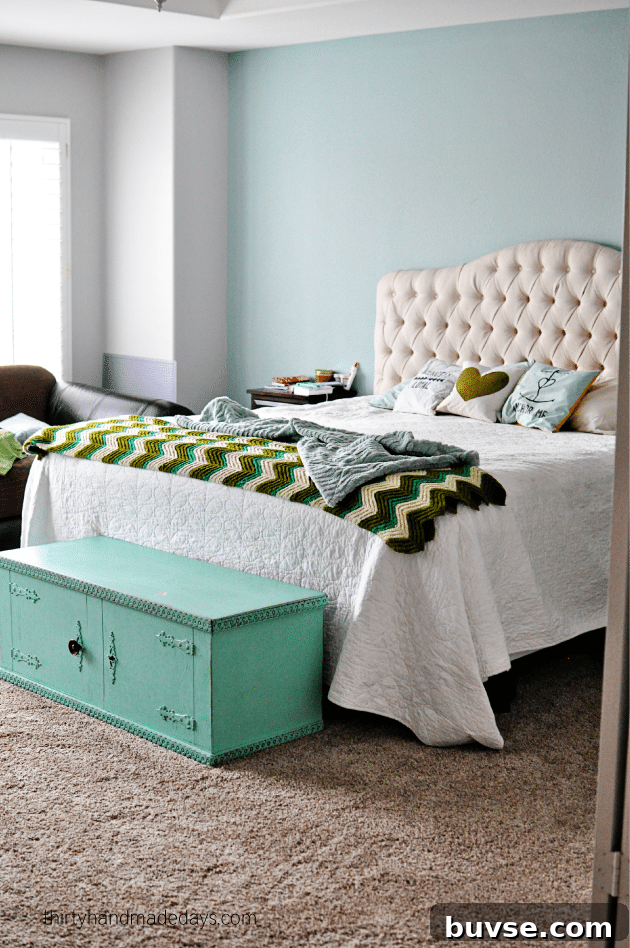
This checklist is the one-sheet I wish I’d had at the start — a compact guide to track choices, measurements, timing, and care. To give some context, here’s a quick look back at our room before and after the carpet update so you can see why organization mattered.
Before:

After:
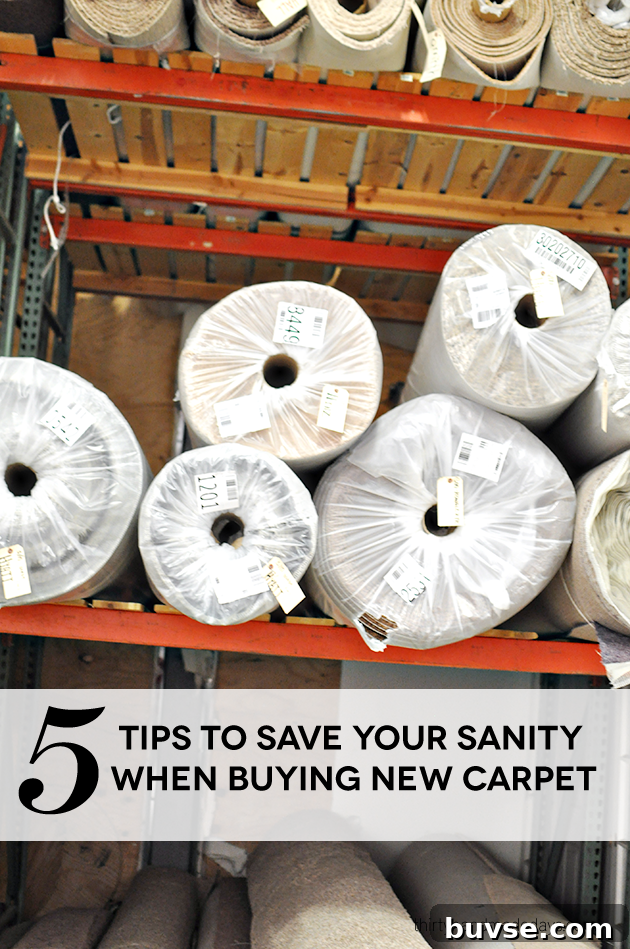
In an earlier post I shared practical tips for keeping your sanity when buying new carpet, from narrowing down styles to planning installation. Those lessons shaped this checklist so that others can move through the process with fewer surprises and more confidence.
We’ve been living with our new carpet for several months now, and it continues to perform well. The Mohawk SmartStrand we chose is easy to maintain and cleans up quickly when accidents happen — a huge plus for a busy household. It vacuums up nicely and the color we picked blends with our décor so everyday messes are less noticeable. Compared with our old carpet, small stray fibers and crumbs are less obvious, which helps the room look tidy between cleanings.
While we still vacuum regularly and care for the floors, the new carpet feels more forgiving and manageable. If you’re considering the same product, visiting a local Mohawk retailer can help you find the best option for your household’s needs.
I took the most useful takeaways from my experience — measuring tips, surface prep reminders, installer questions, warranty notes, and care instructions — and condensed them into a printable checklist. It’s designed to help you organize decisions, keep track of appointments, and remember important follow-up steps after installation.
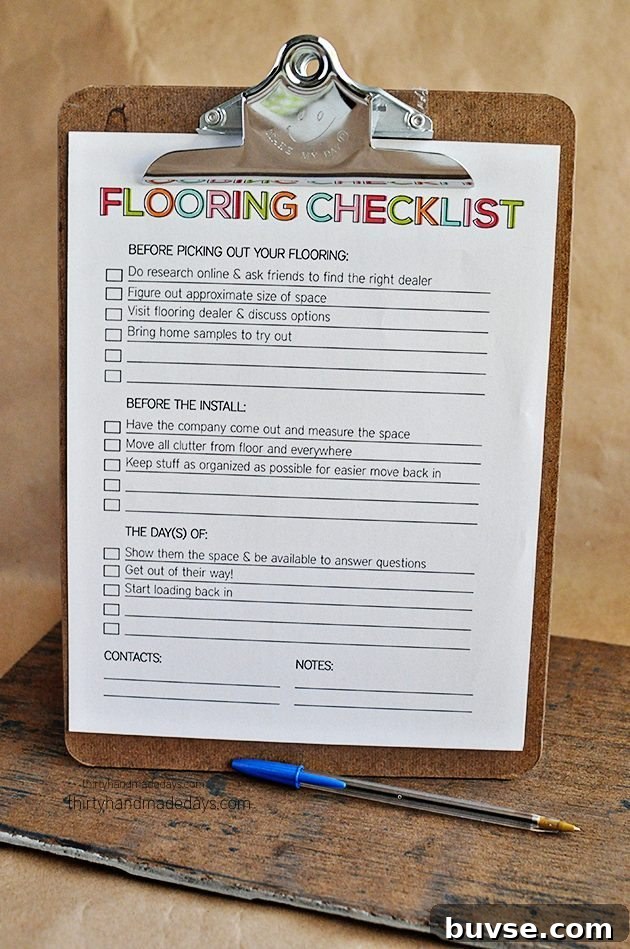
Download the flooring checklist: choose the filled-in version if you want an example of completed items, or the blank version to personalize for your own project. These are intended for personal use.
If you’re starting a flooring update, here are a few quick tips to keep in mind as you use the checklist: measure rooms carefully (include closets and thresholds), note which furniture needs moving or storage, confirm installer timelines and payment terms in writing, ask about subfloor prep and moisture testing, and understand product warranties and recommended cleaning products. These steps helped our renovation run smoother and will likely help yours, too.
Good luck with your project — I hope the printable makes planning and staying organized a little easier.